A manual personalization of your 3D cover
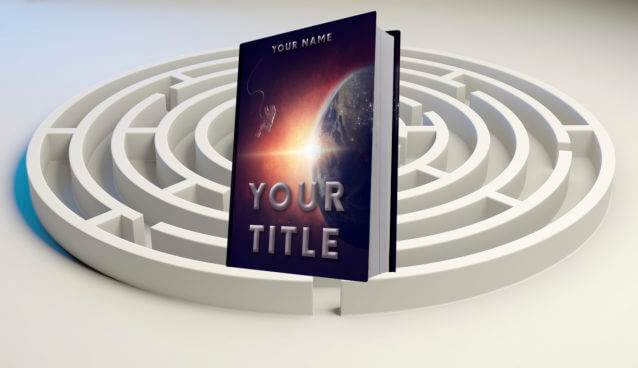
Here’s how to create your 3D cover. I prepered a step by step tutorial to do it all by yourself. You can also do it more easily using so called action. How? Easily personalize your 3D cover. To buy this 3D template go HERE.
Ready? Let’s start!
Important:
If something goes wrong – don’t panic! You can always move one step backwards by pressing Ctrl (Command) +Z. If you need to move back more than just one step, it’s also ok. Just click Ctrl (Command) +Alt +Z as many times as you need.
The more advanced way to make your 3D cover
Step 1: Open the ‘3d white cover.pds’ file by double clicking on it. That’s what you get.
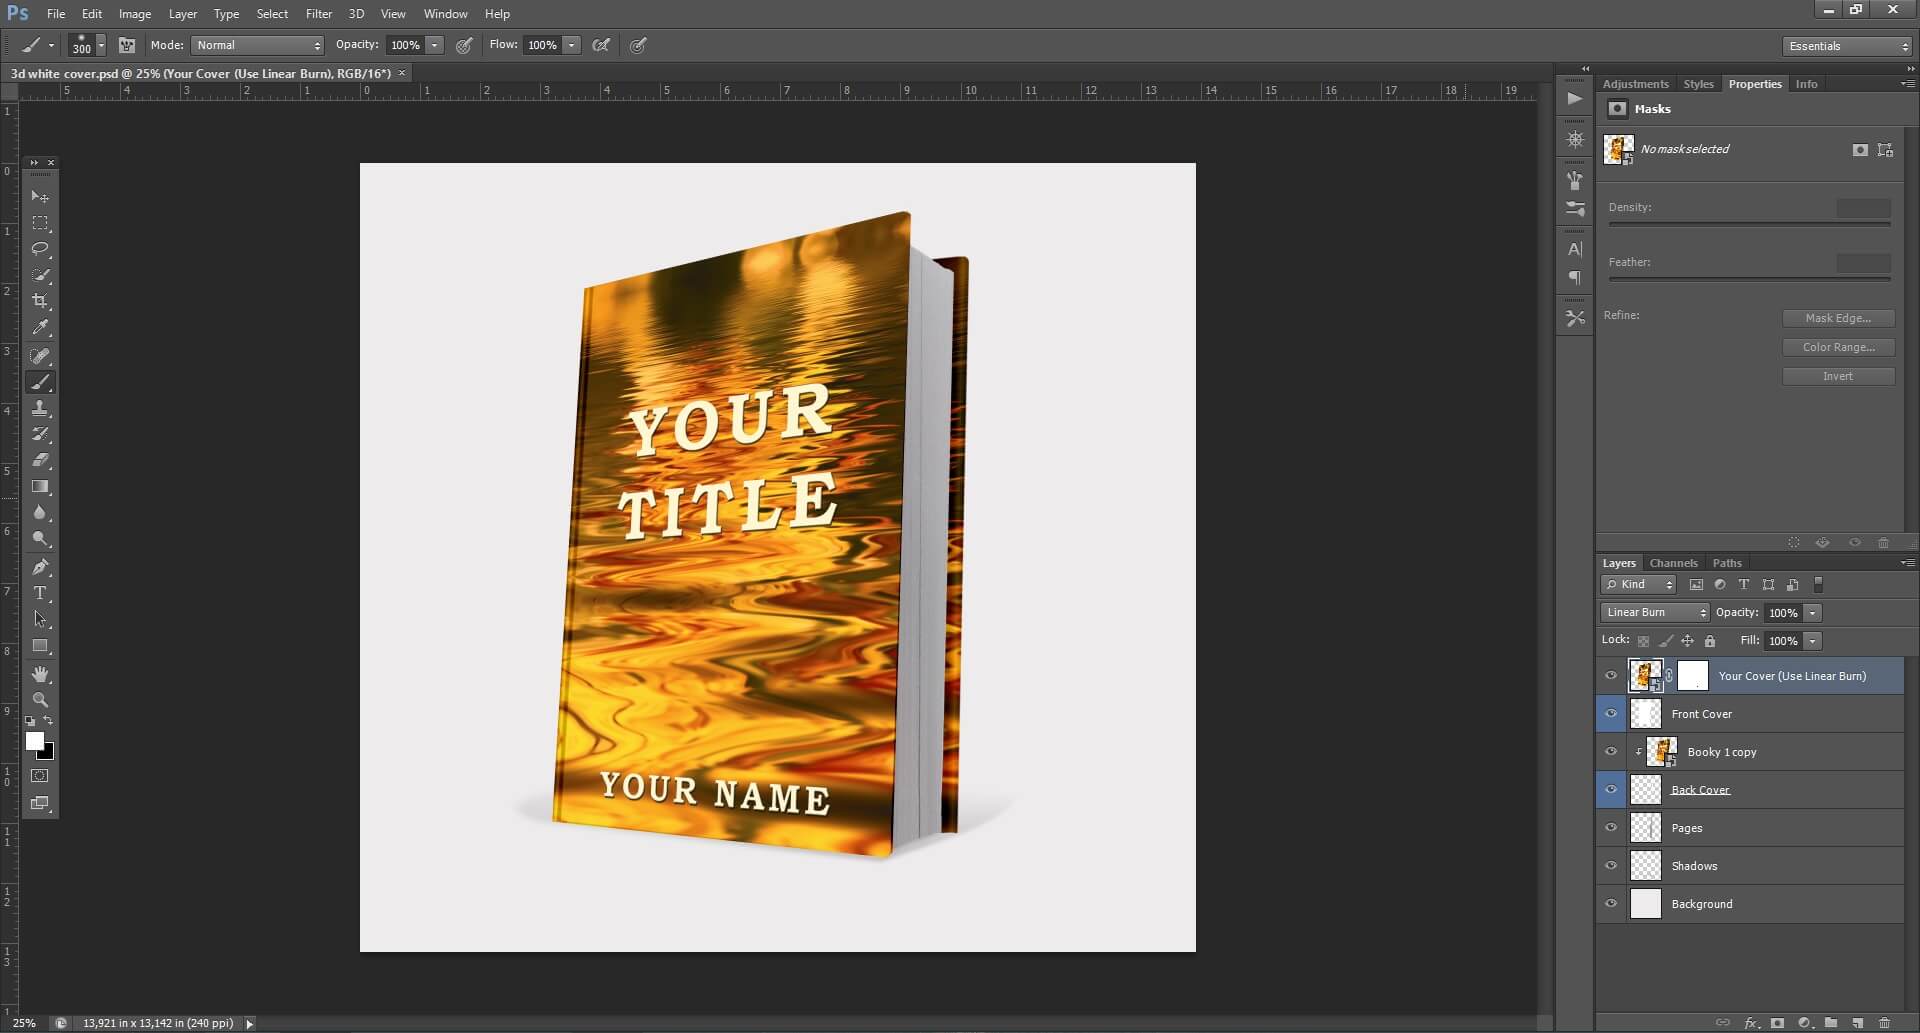
Step 2: Take the jpg file of your cover and place it in the Photoshop window.
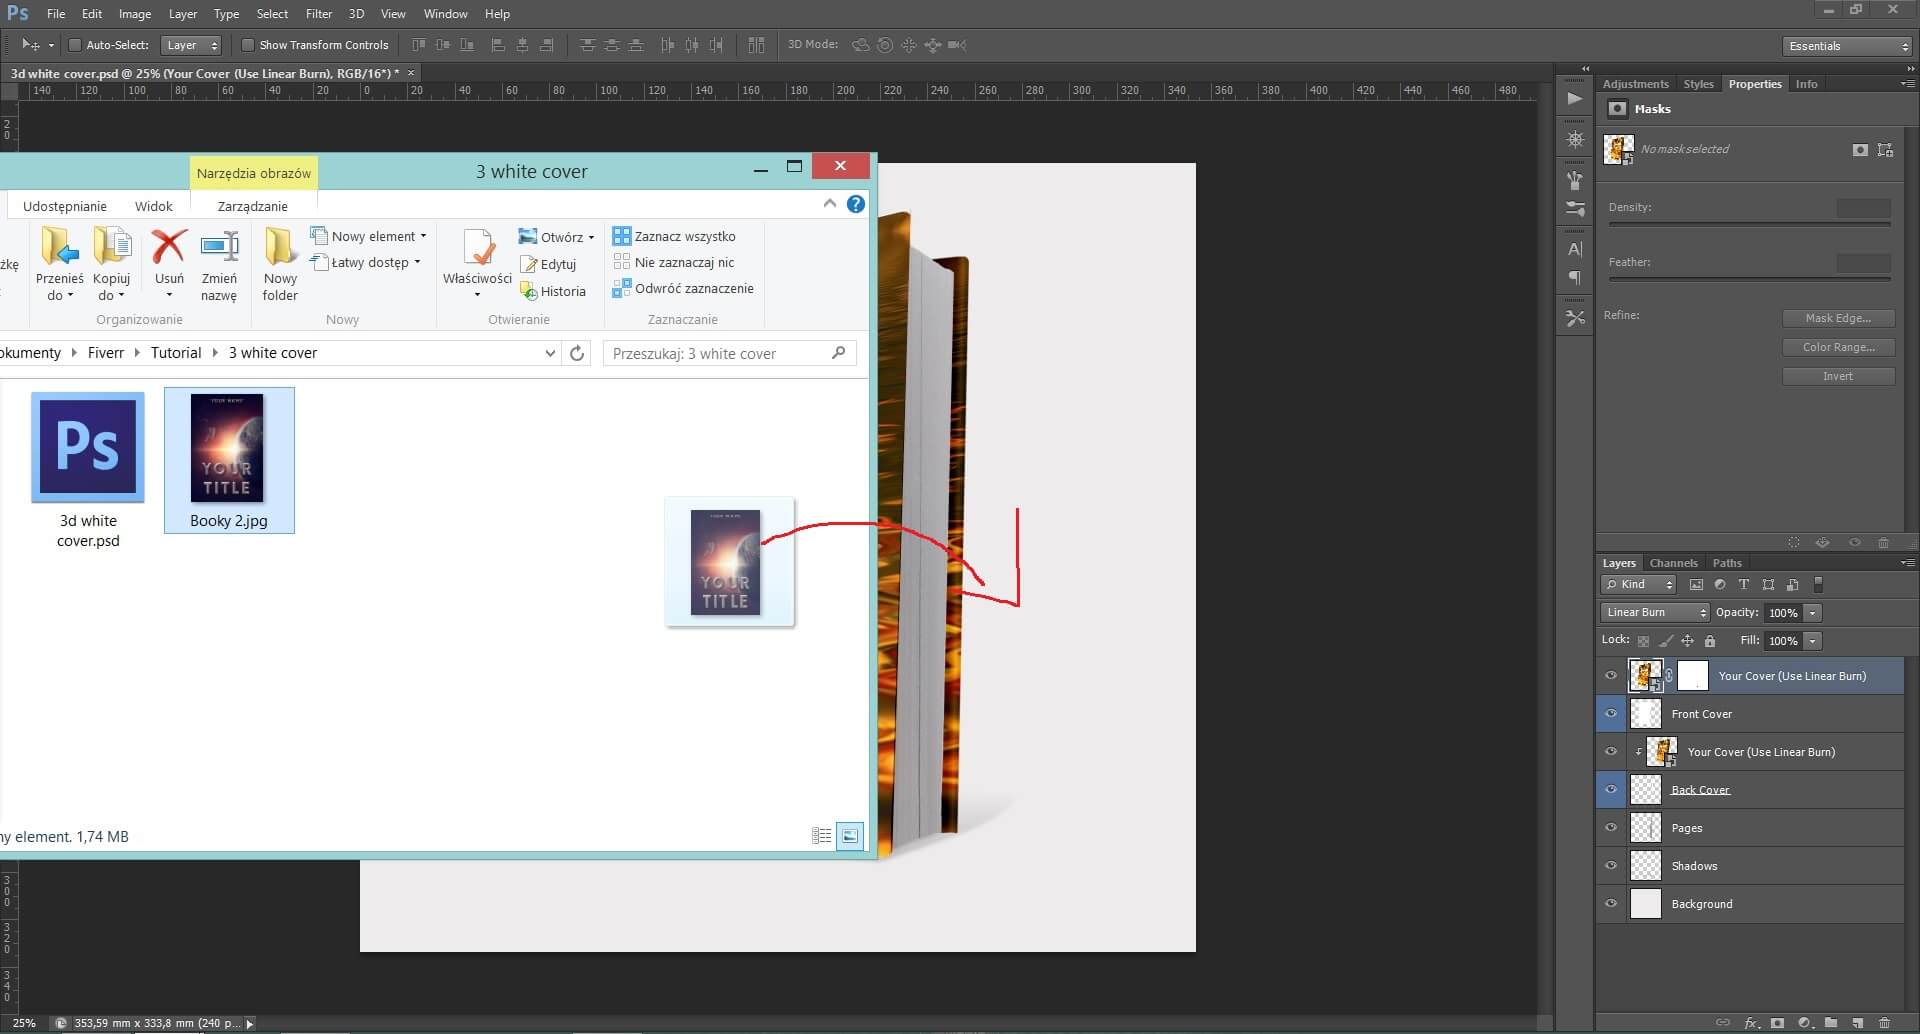
Some of you may see such window, so may not. It depends from the settings of your Photoshop. If you see it, just press ENTER or click OK.
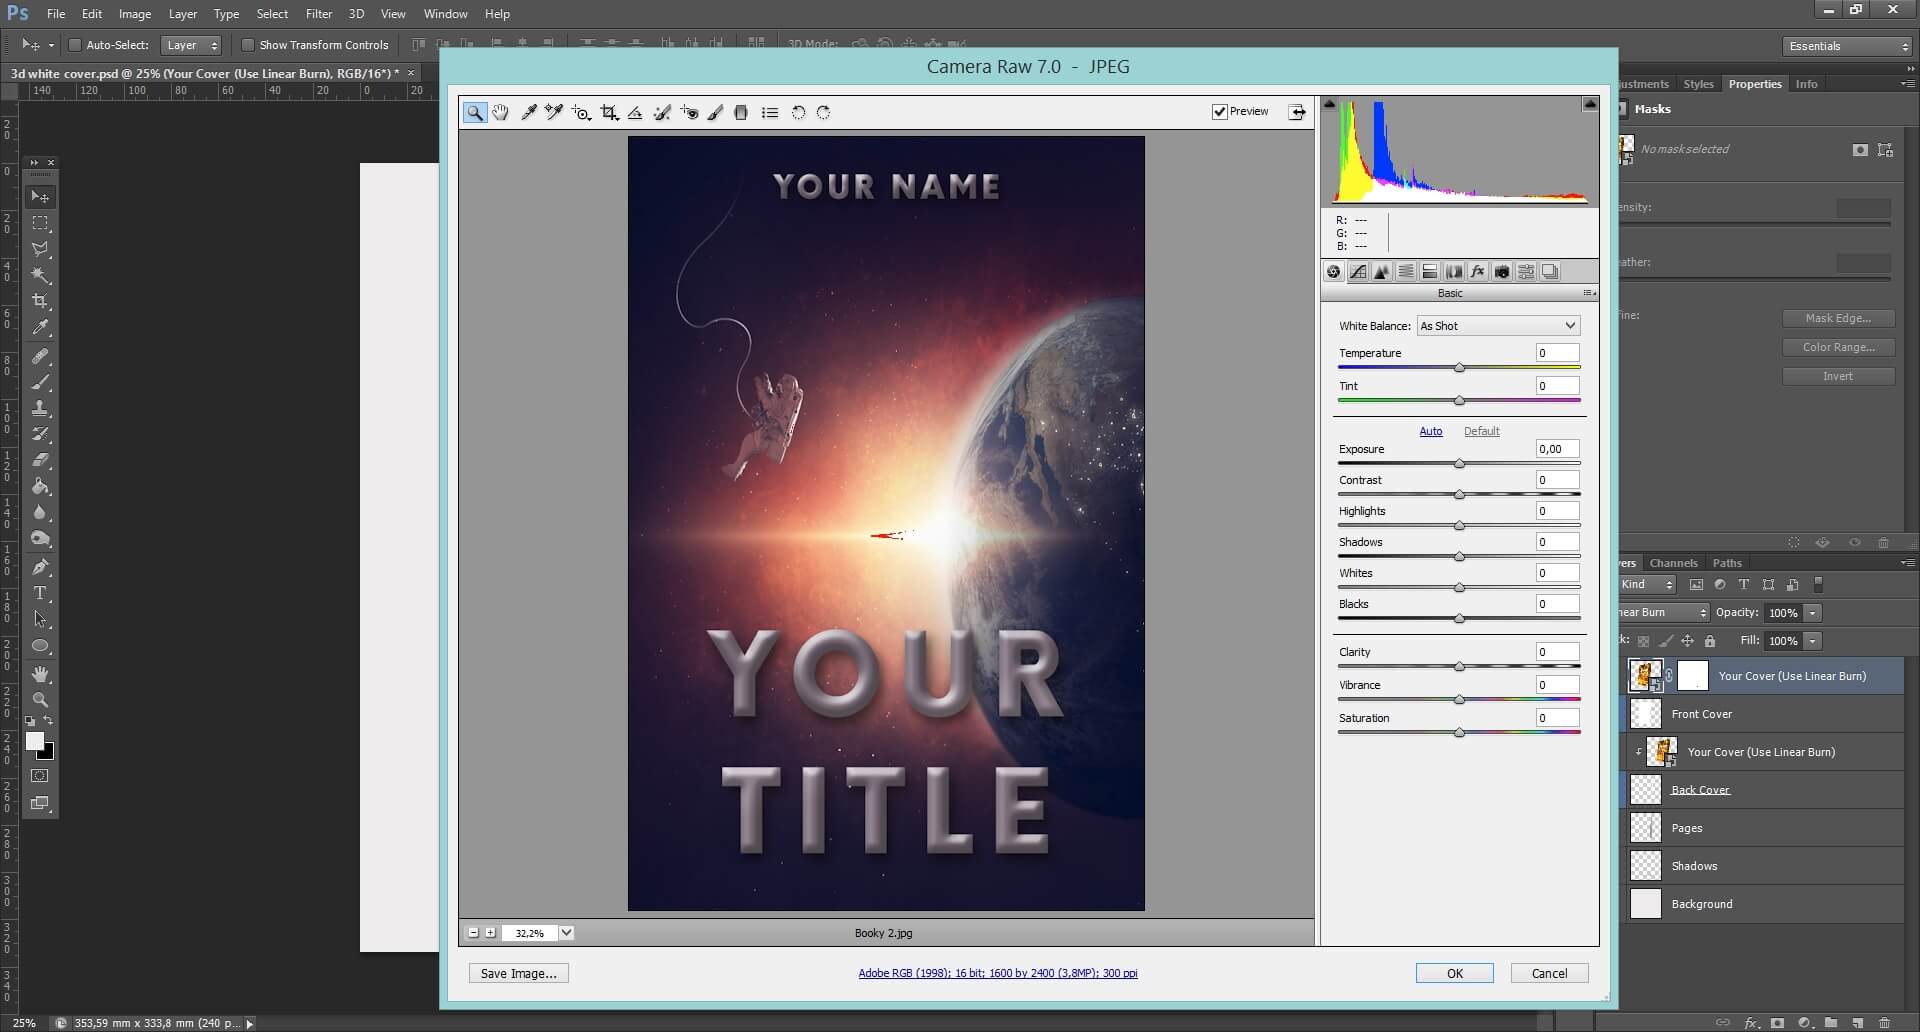
Step 3: That’s what you get. Now, just press ENTER.
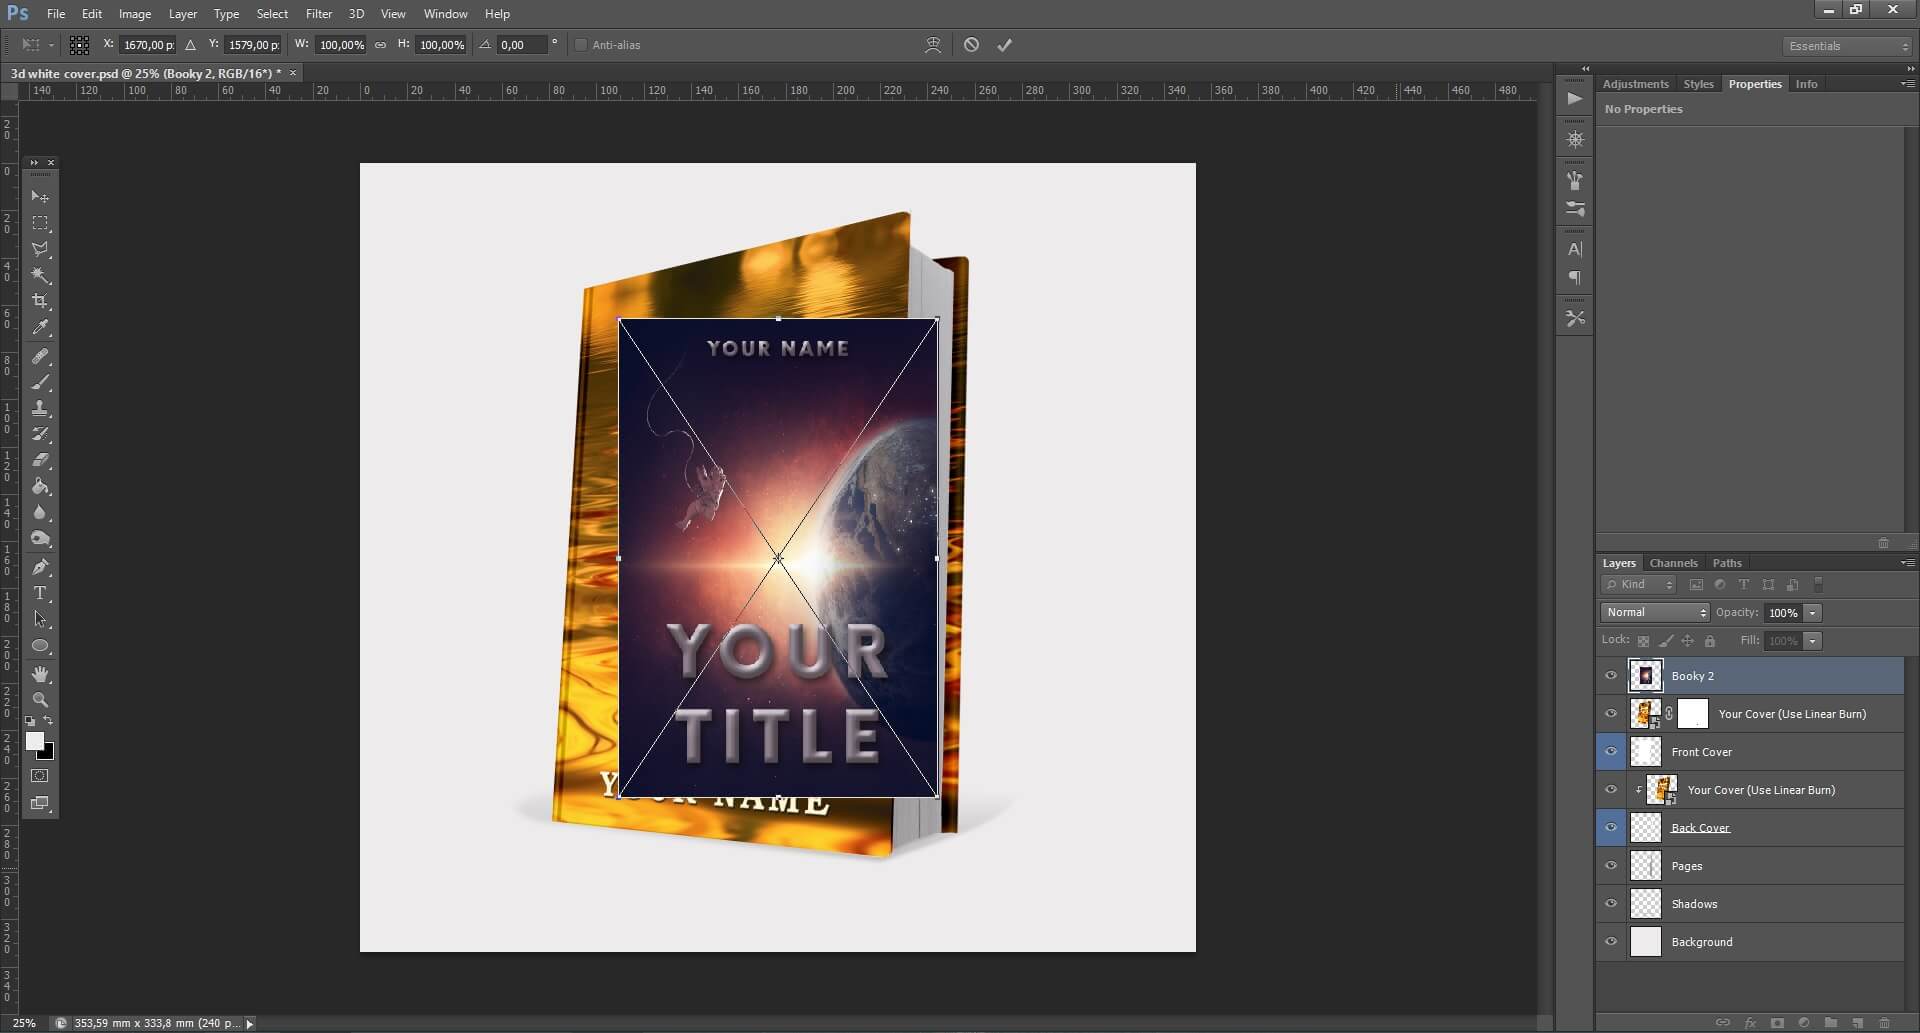
Step 4: By clicking at the eye, make the ‘Your cover’ layer invisible.
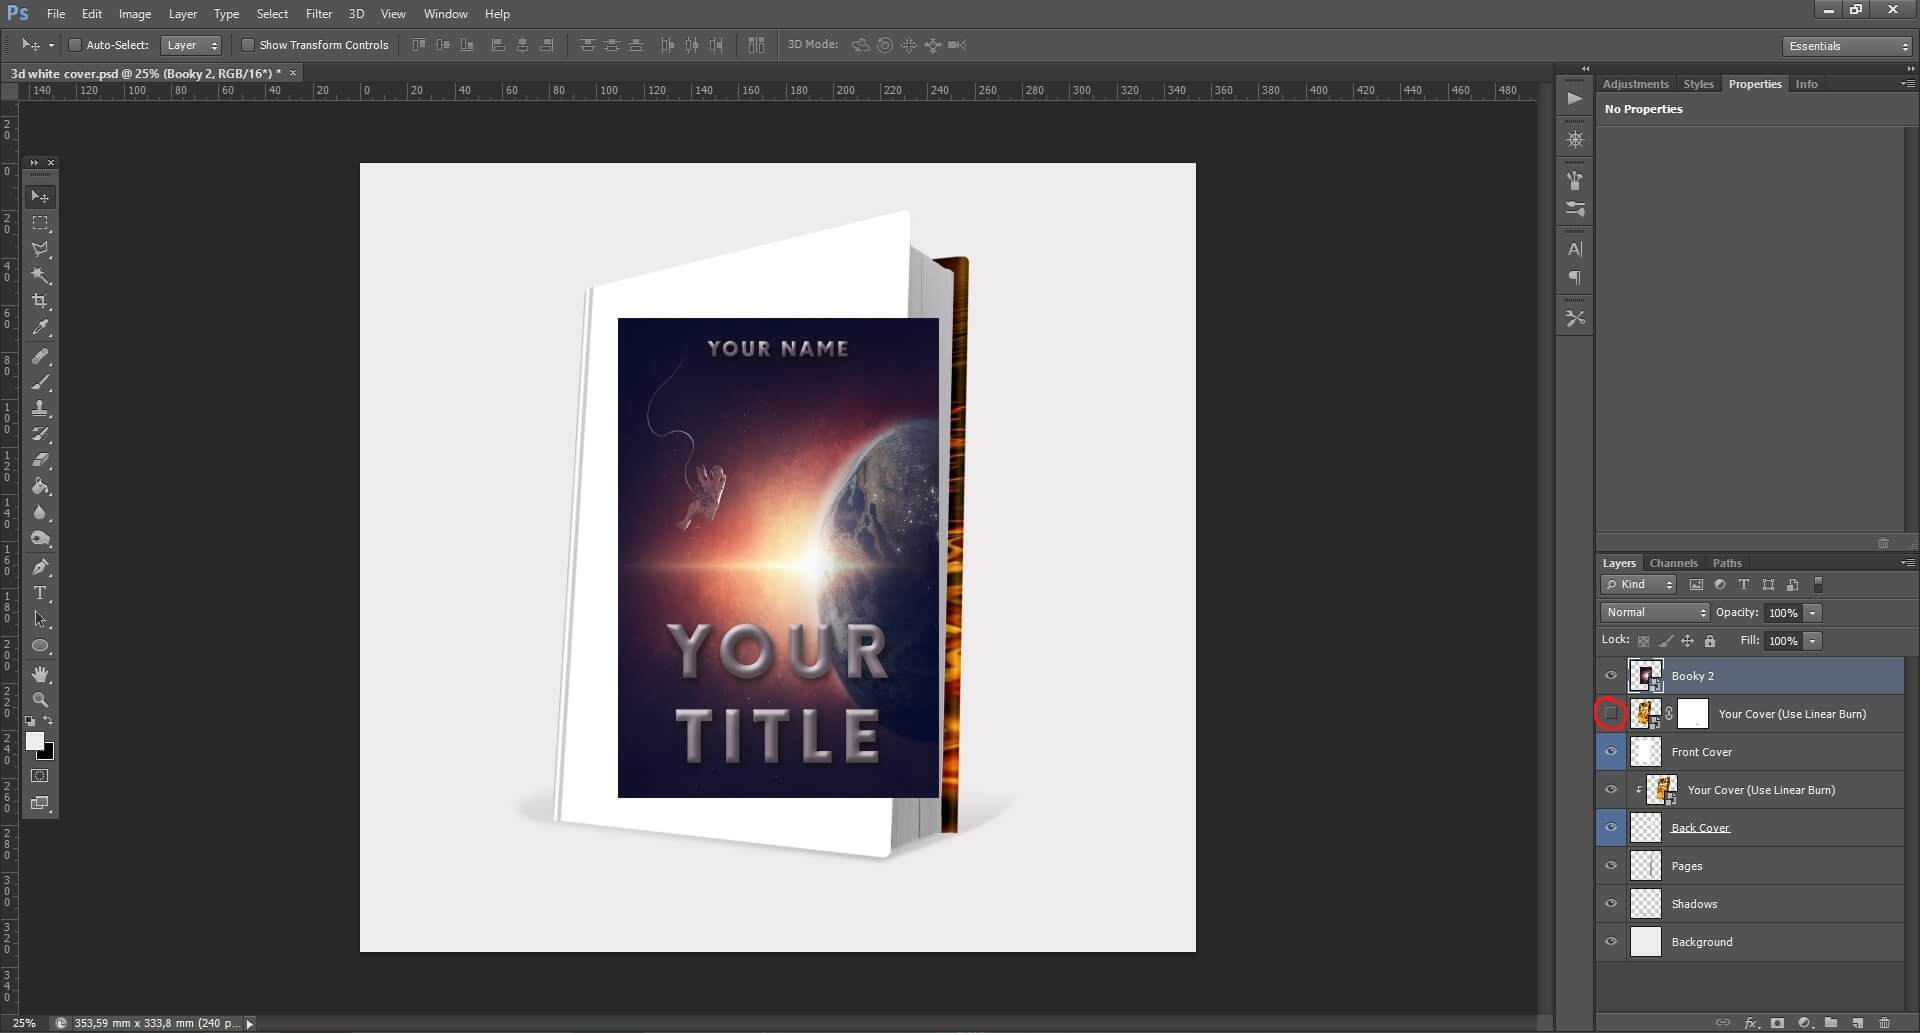
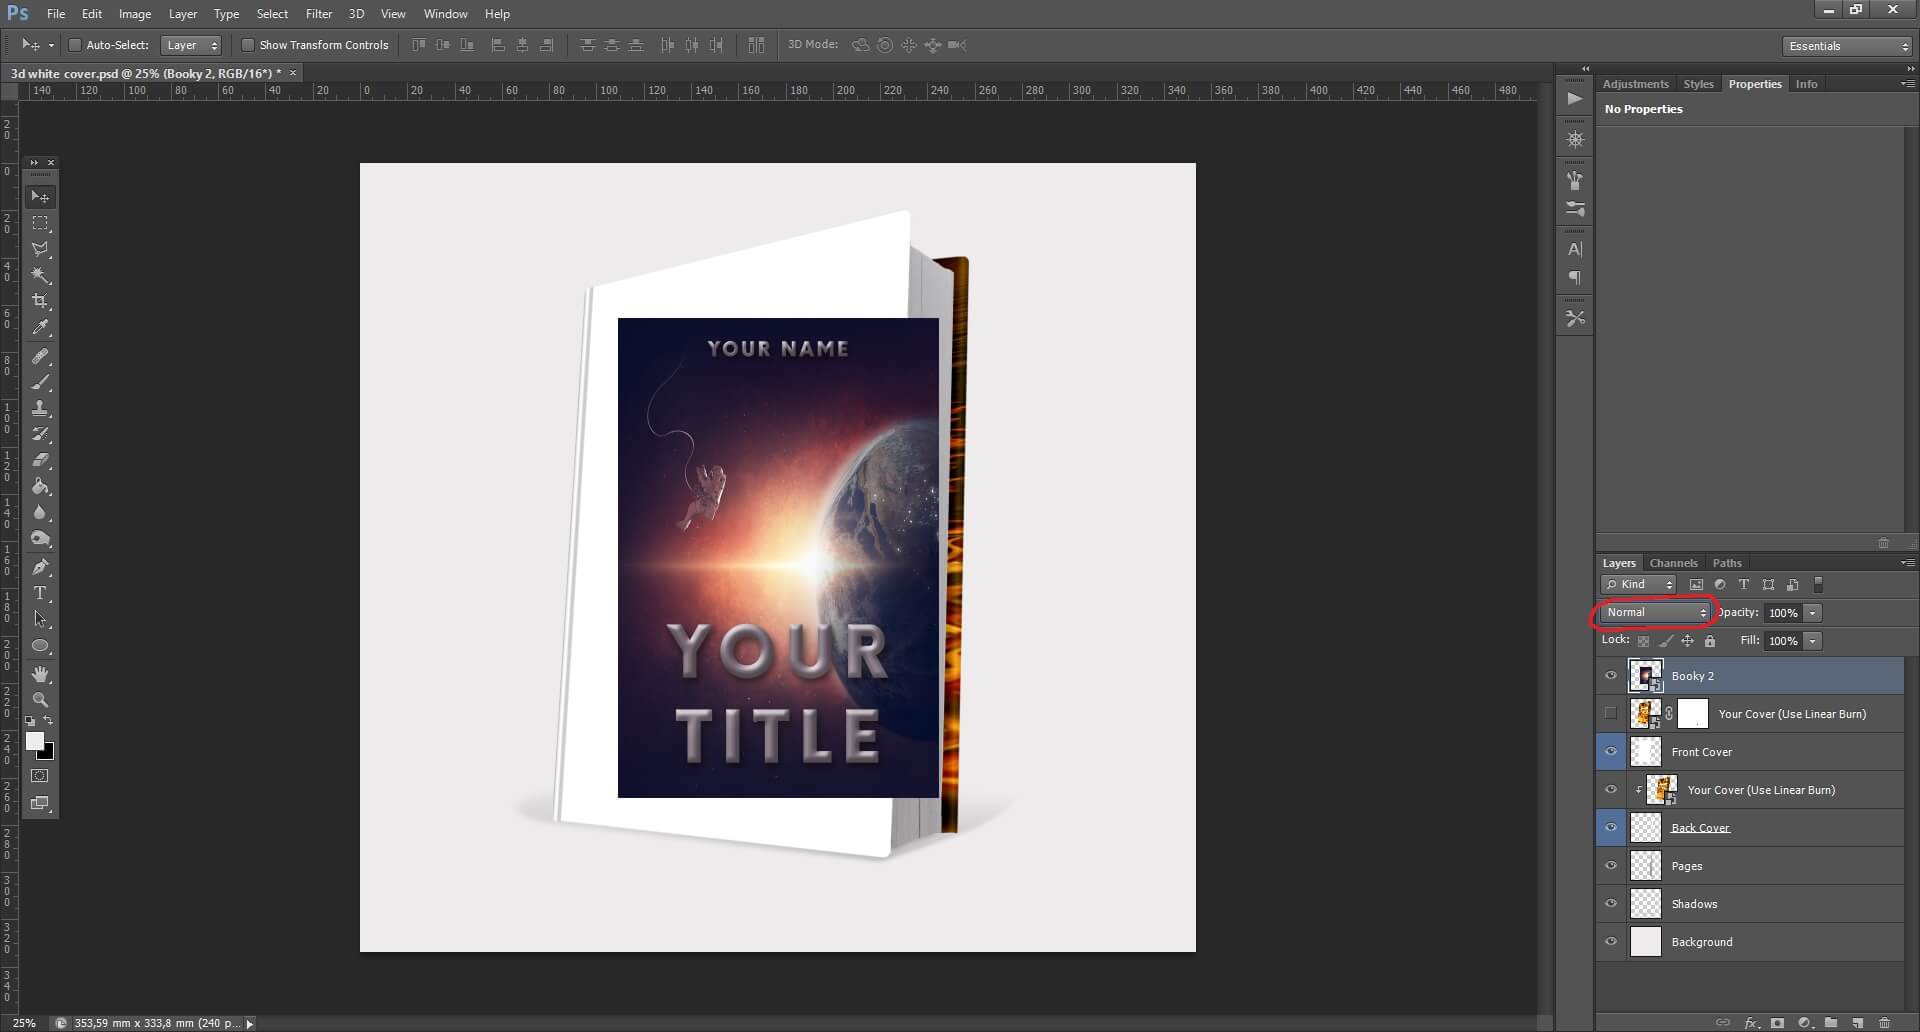
Step 5: Click at the word ‘Normal’.
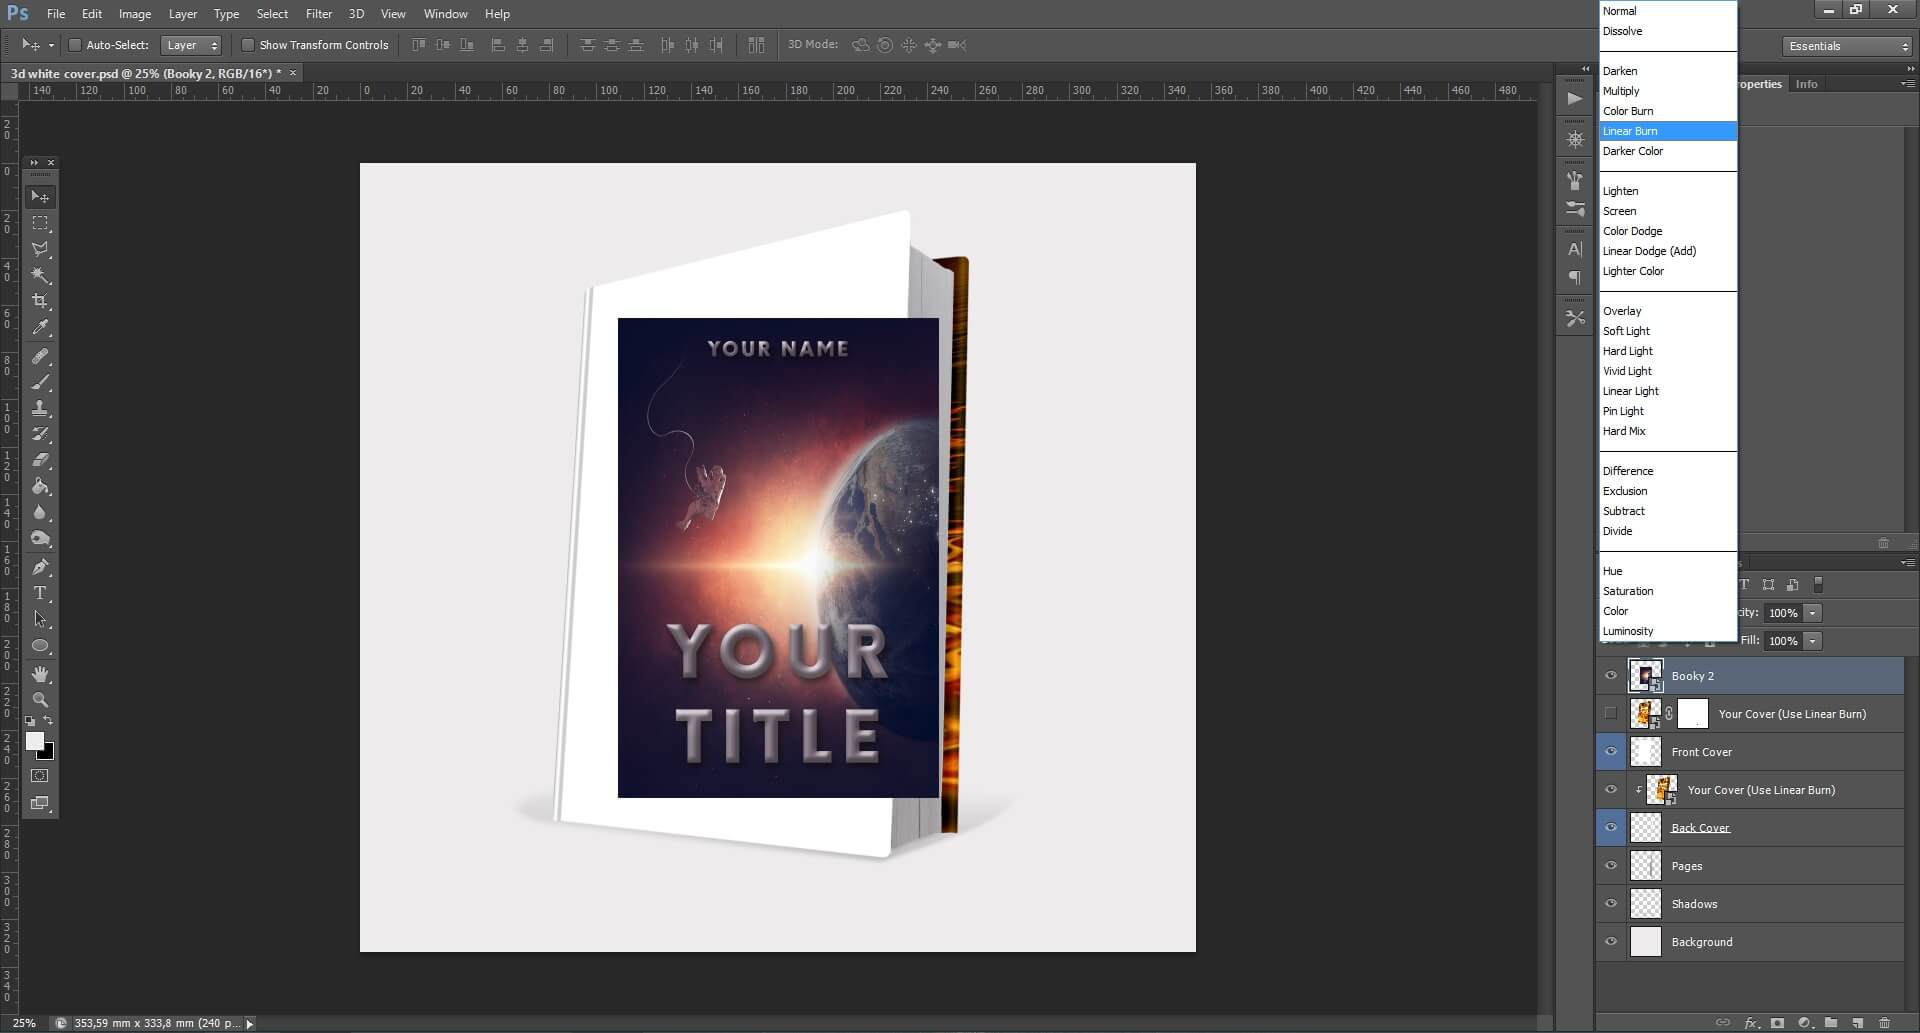
You’ll see a list. Choose ‘Linear Burn’. This is the way in which the layers will be mixed together.
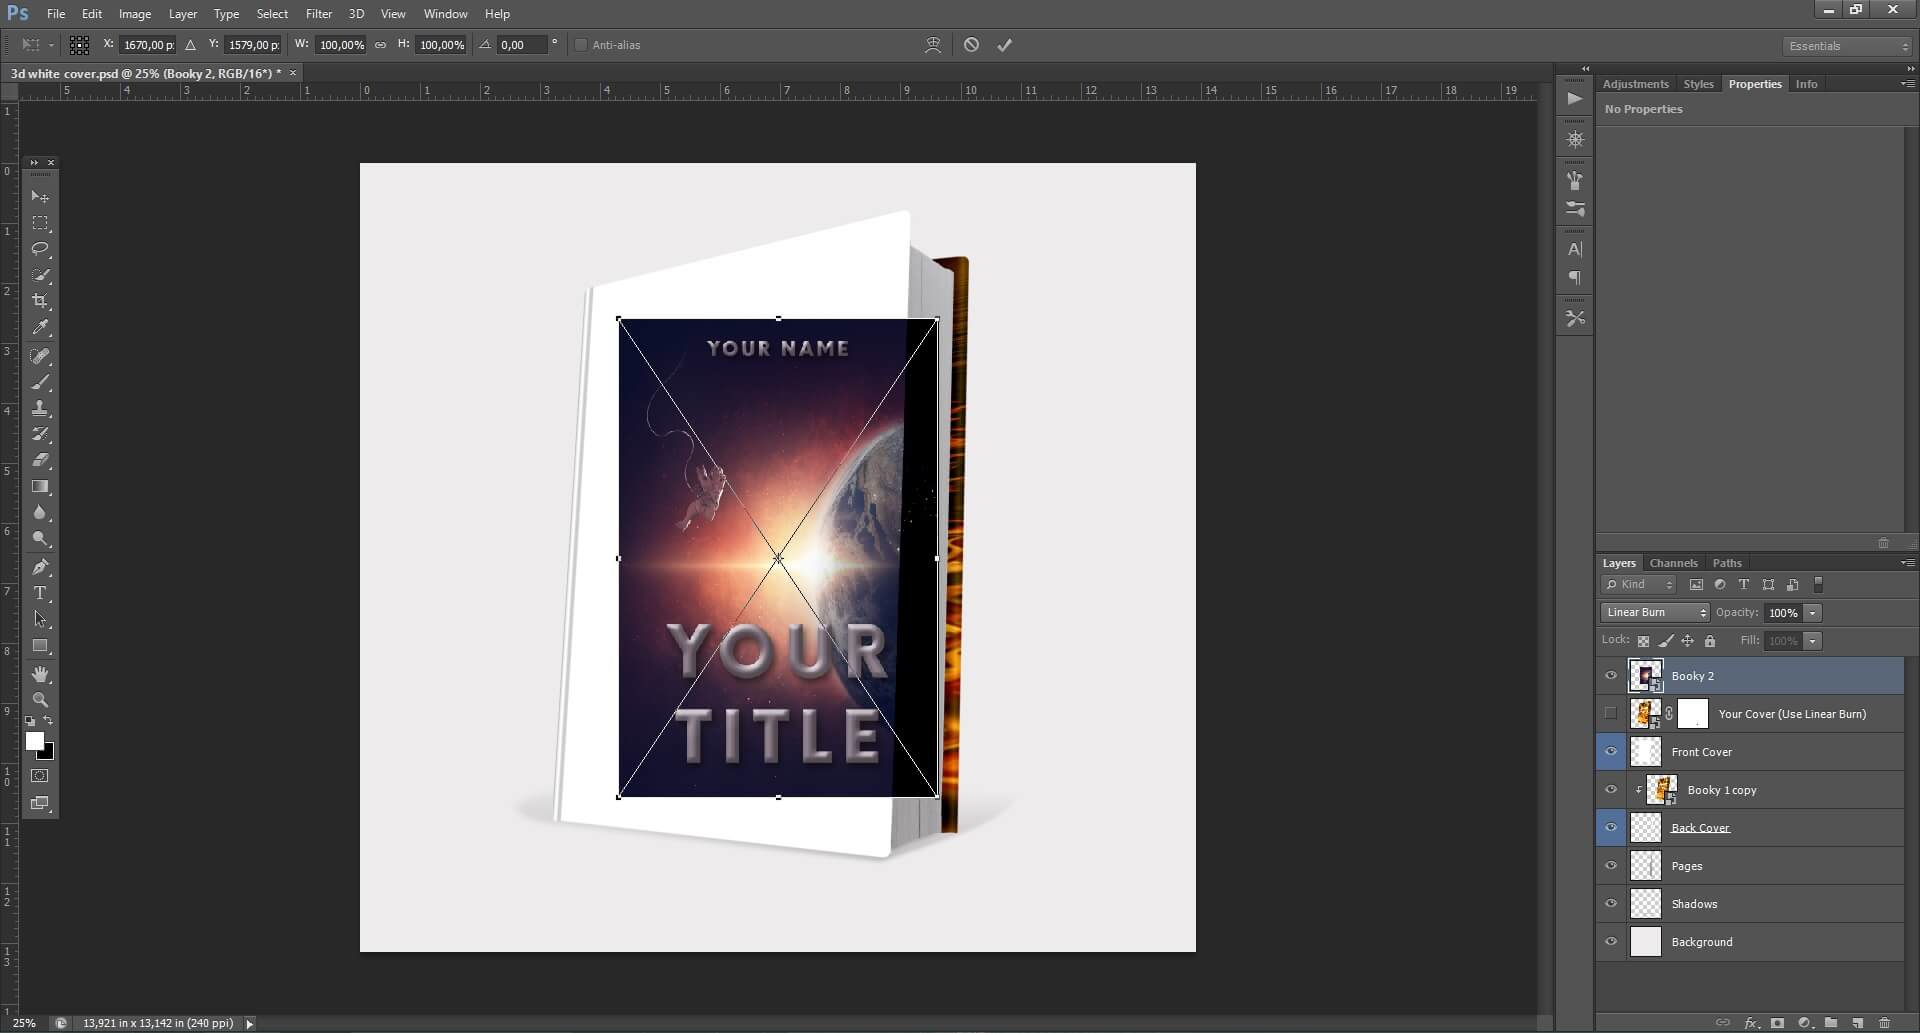
Step 6: Make sure that the selected layer is the one with your cover – the one on top. Press CTRL (Command) + T. Your cover will get selected.
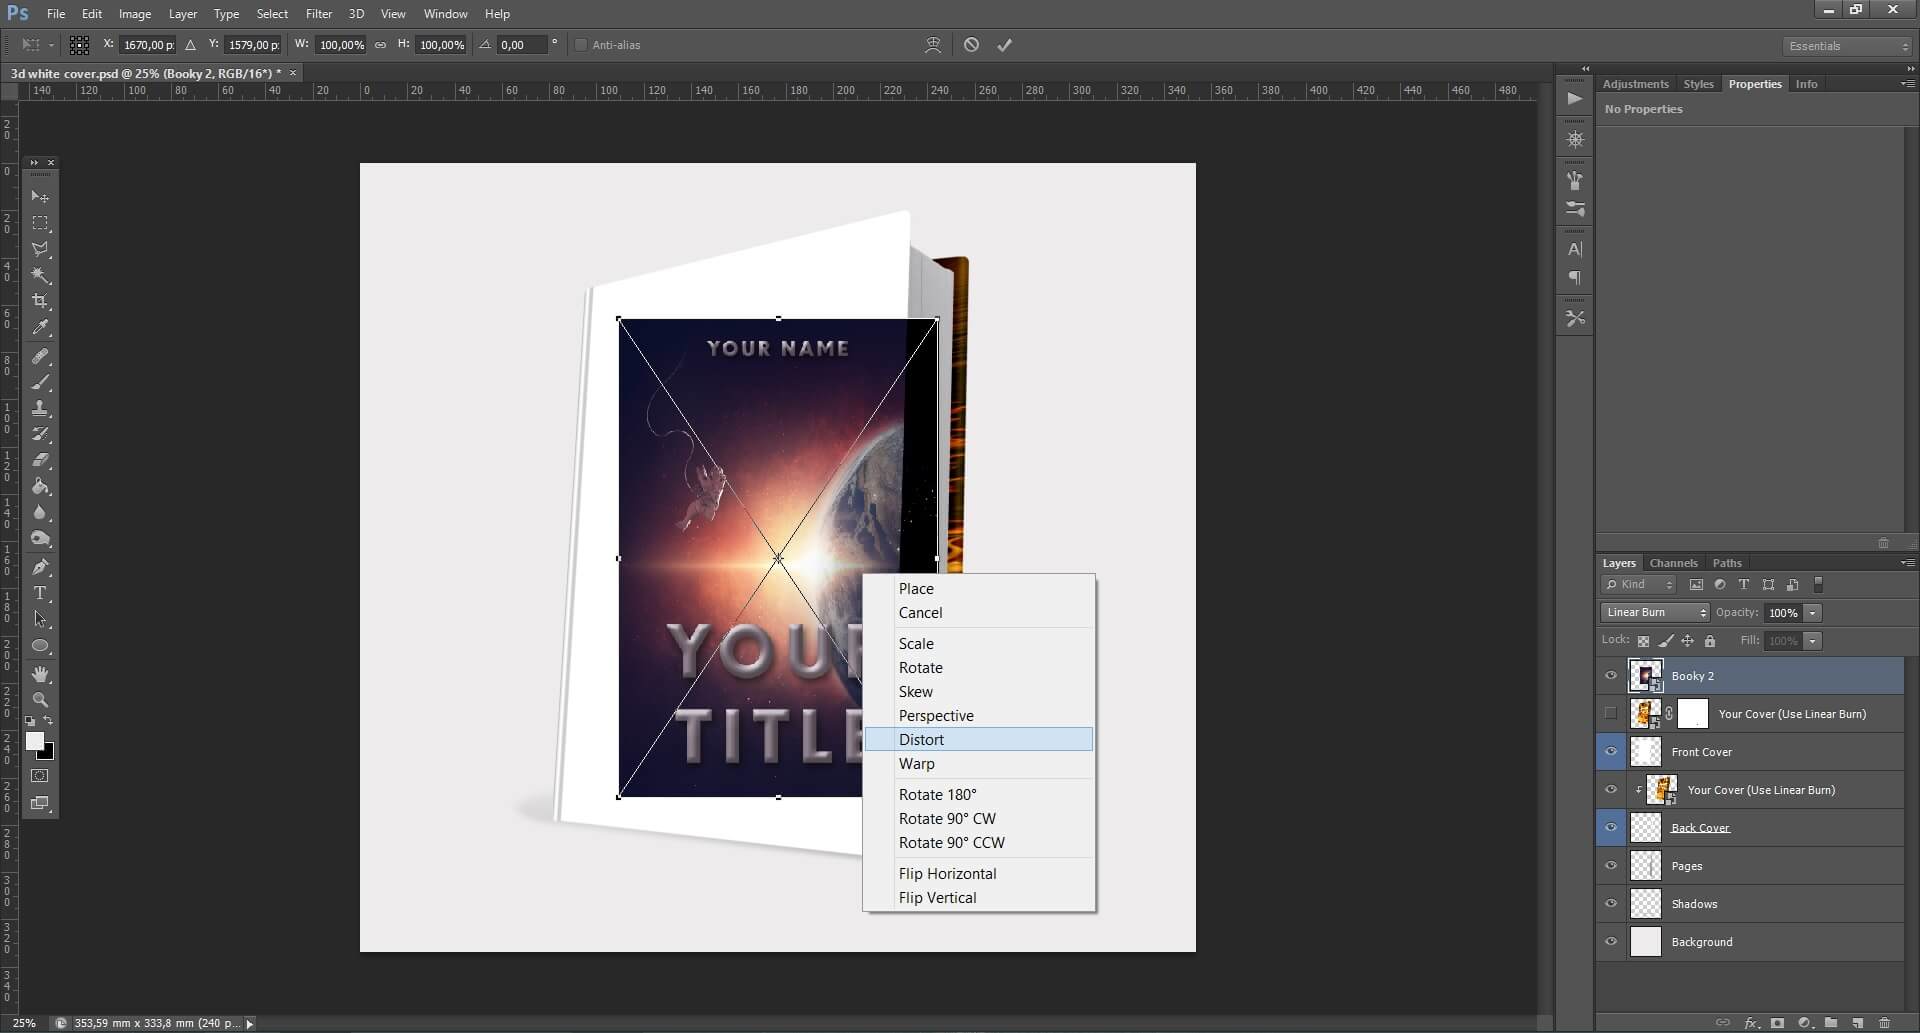
Step 7: Right-click on it and choose ‘Distort’.
Step 8: Now you have to make your cover fit the white cover of the 3D image. To do it you have to move the small squares on the corners of your cover.
To zoom the picture you have to press Ctrl (Command) and +. To zoom back press the combination of Ctrl (Command) and -.
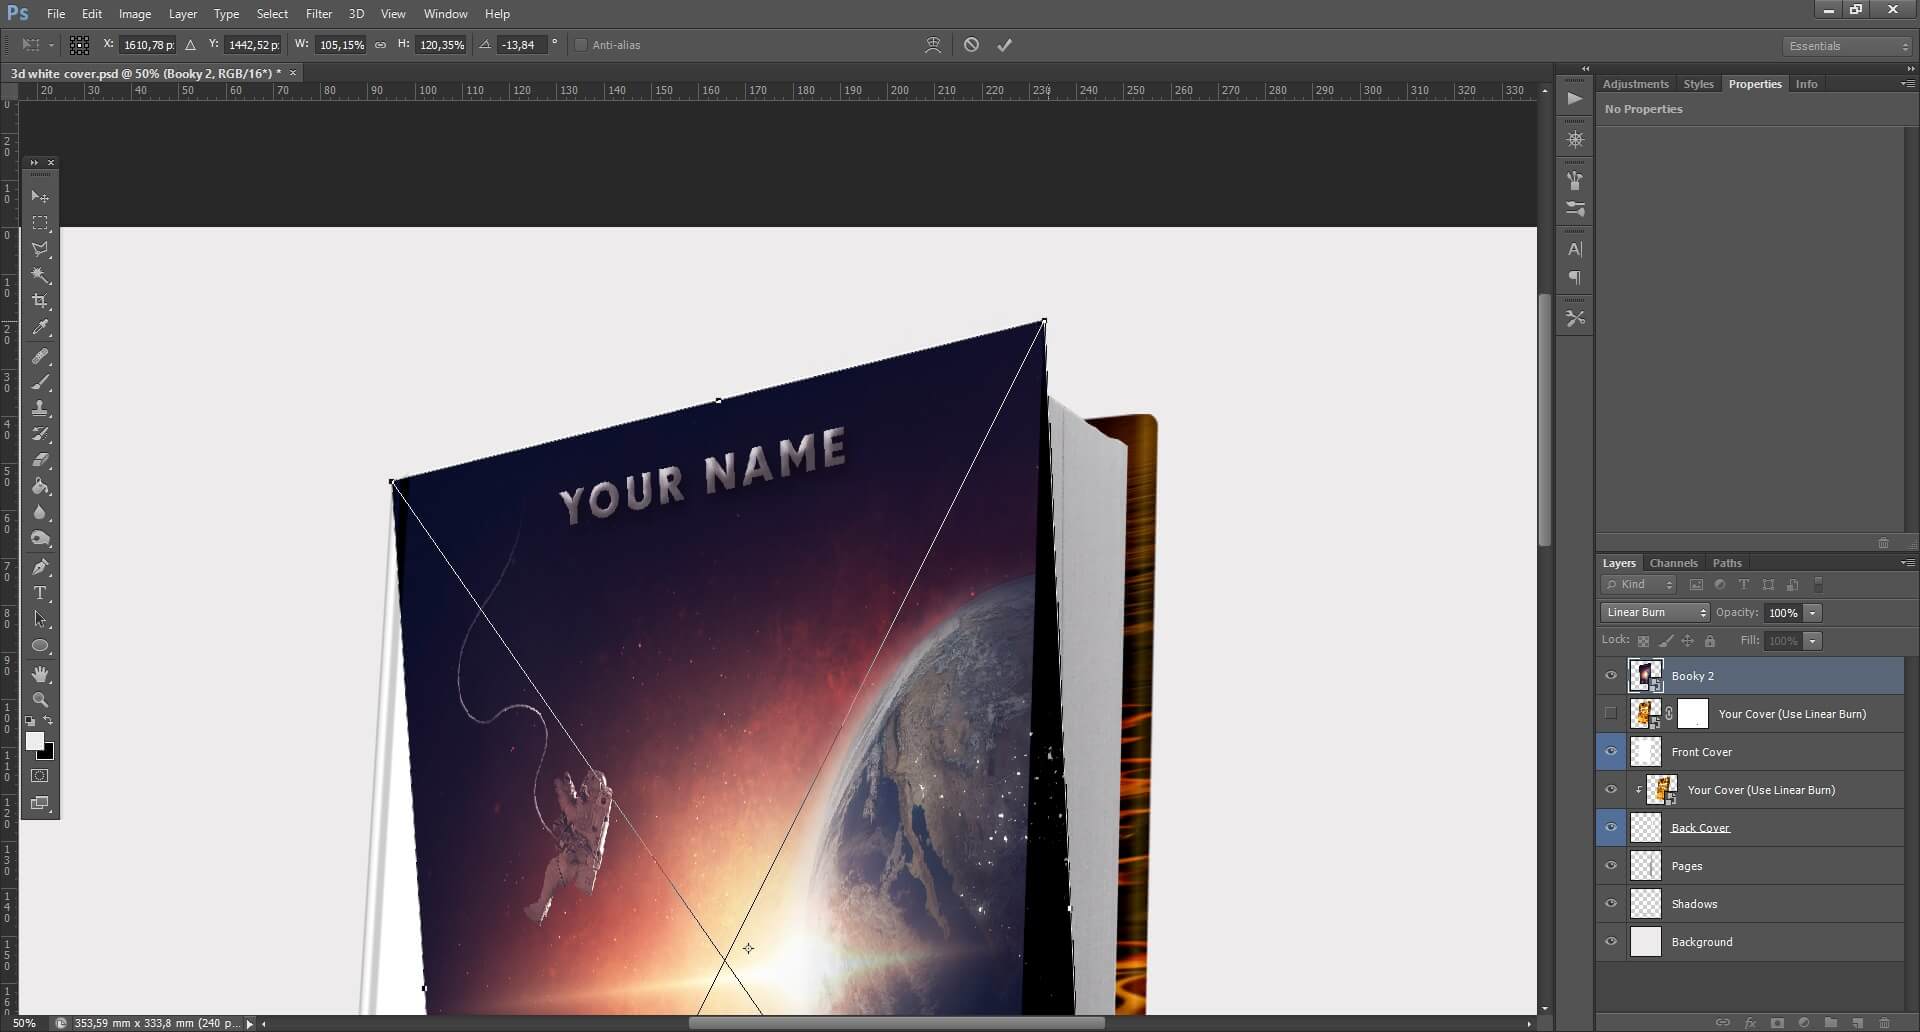
Step 9: Take your layer and place it between ‘Your cover’ and ‘Front cover’.
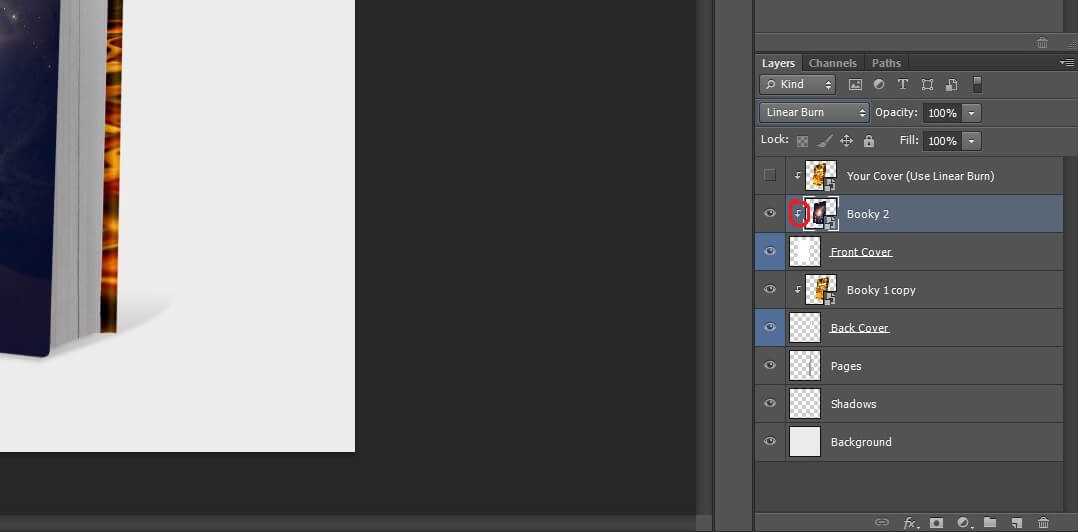
Attention! Make sure there is this small arrow next to it. It means the layer with your cover will be connected to the ‘Front cover’. This means it will take the shape of the layer below. If there’s not, press left Alt and click between your layer and ‘Front cover’ layer.
You did it? Well done! Just a few more steps and your cover will be ready.
Now we have to work on the back cover. Don’t worry, if you only have the kindle cover. Just follow the next steps. The most important is that the back cover doesn’t remain white (unless it fits your front cover). If you have a separate jpg file with your back cover just place it in Photoshop (like you did with the front) and follow the next steps.
Taking the back cover from a CreateSpace cover is more difficult, so I’ll describe it in another tutorial.
Step 10: Press Ctrl+J. This way you will duplicate the layer with your cover.
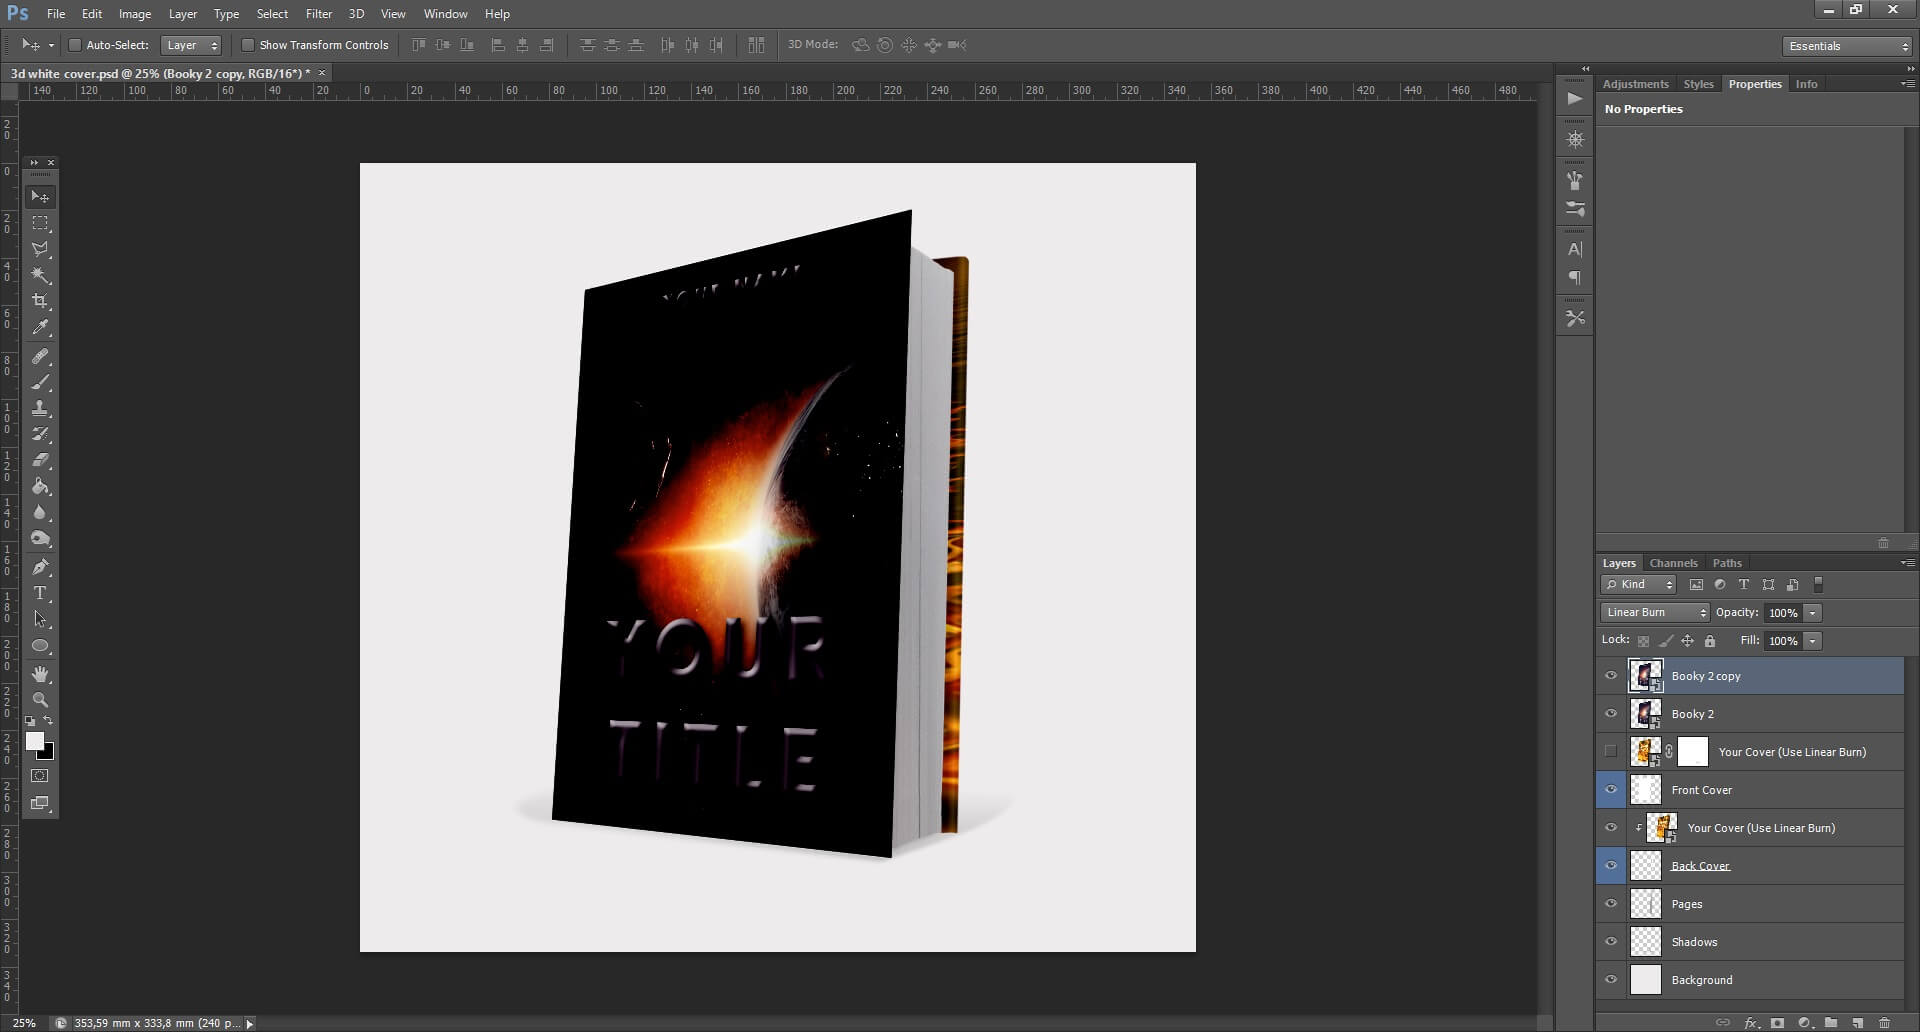
Step 11: Click the eye next to the ‘Your cover copy’ layer to make it invisible.
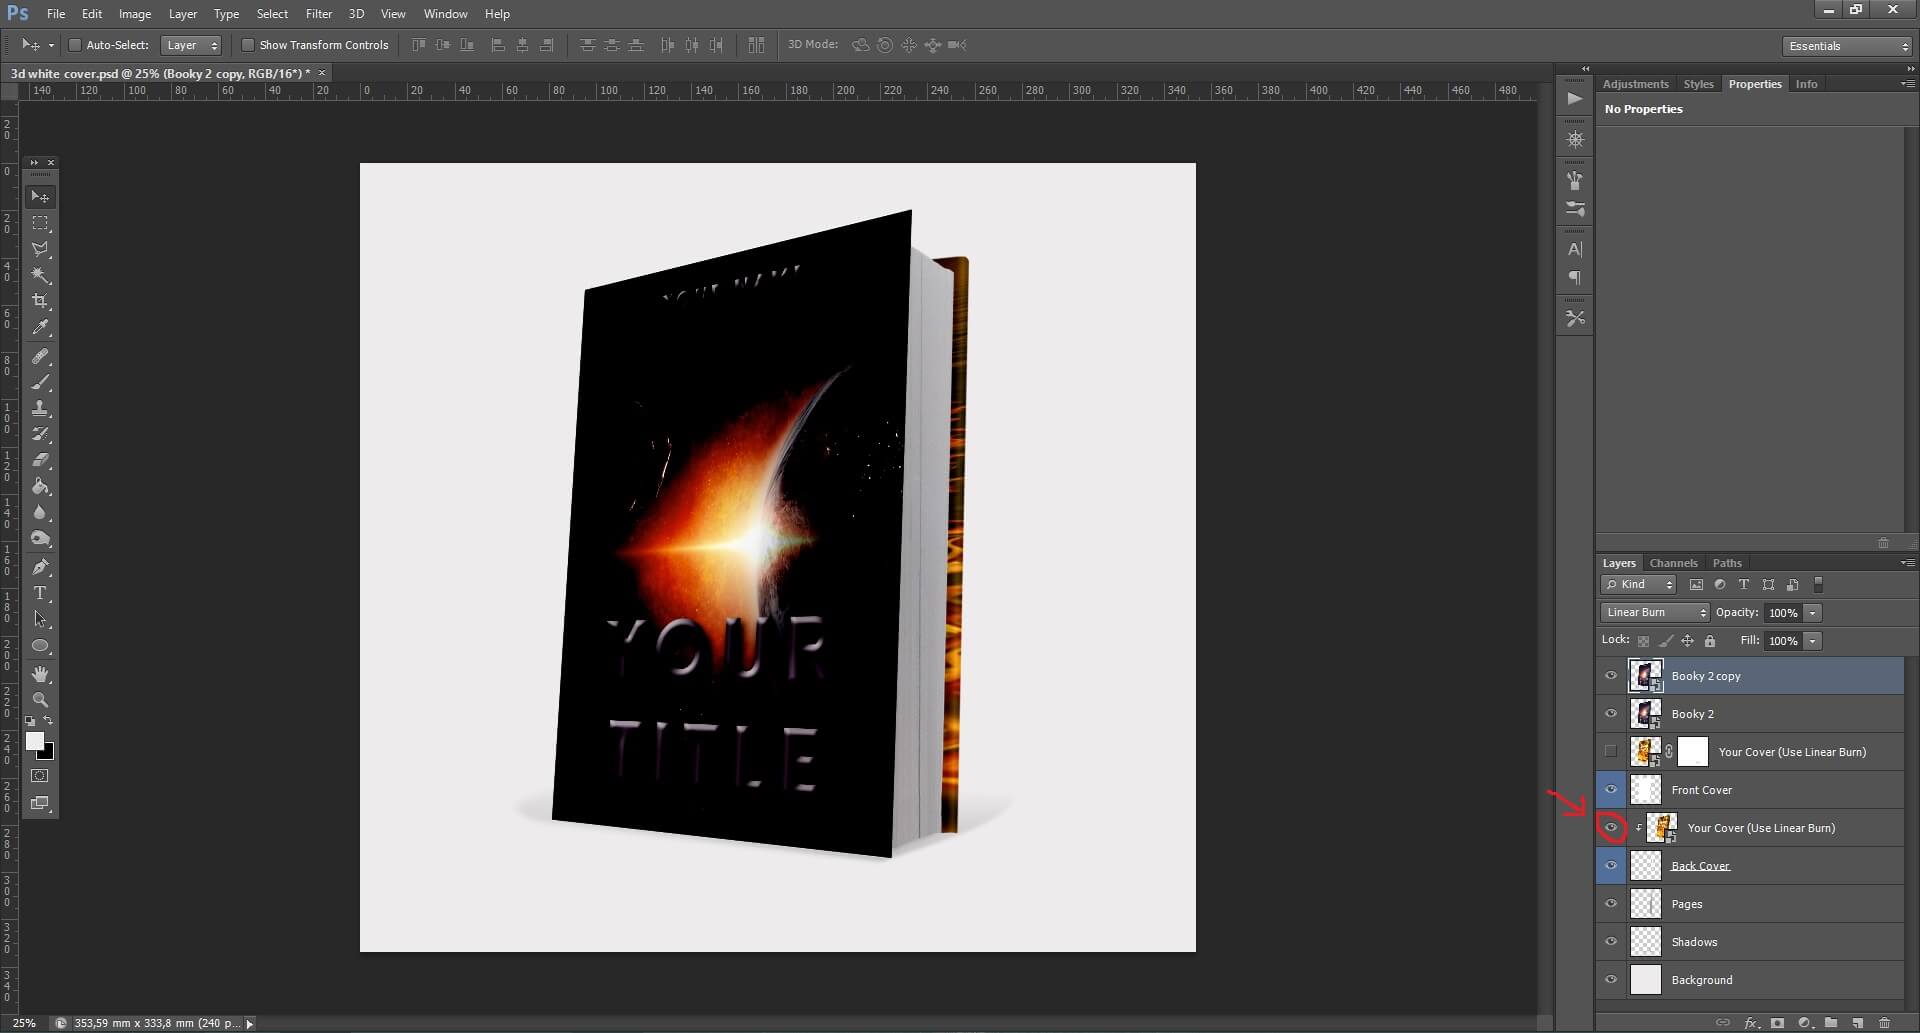
Step 12: Take the layer with the copy of your cover and place it between ‘Back Cover’ and ‘Your cover copy’. Don’t worry that it disappeared.
Attention! Make sure there is this small arrow next to it. It means the layer with your cover will be connected to the ‘Back cover’. This means it will take the shape of the layer below. If there’s not, press left Alt and click between your layer and ‘Back cover’ layer.
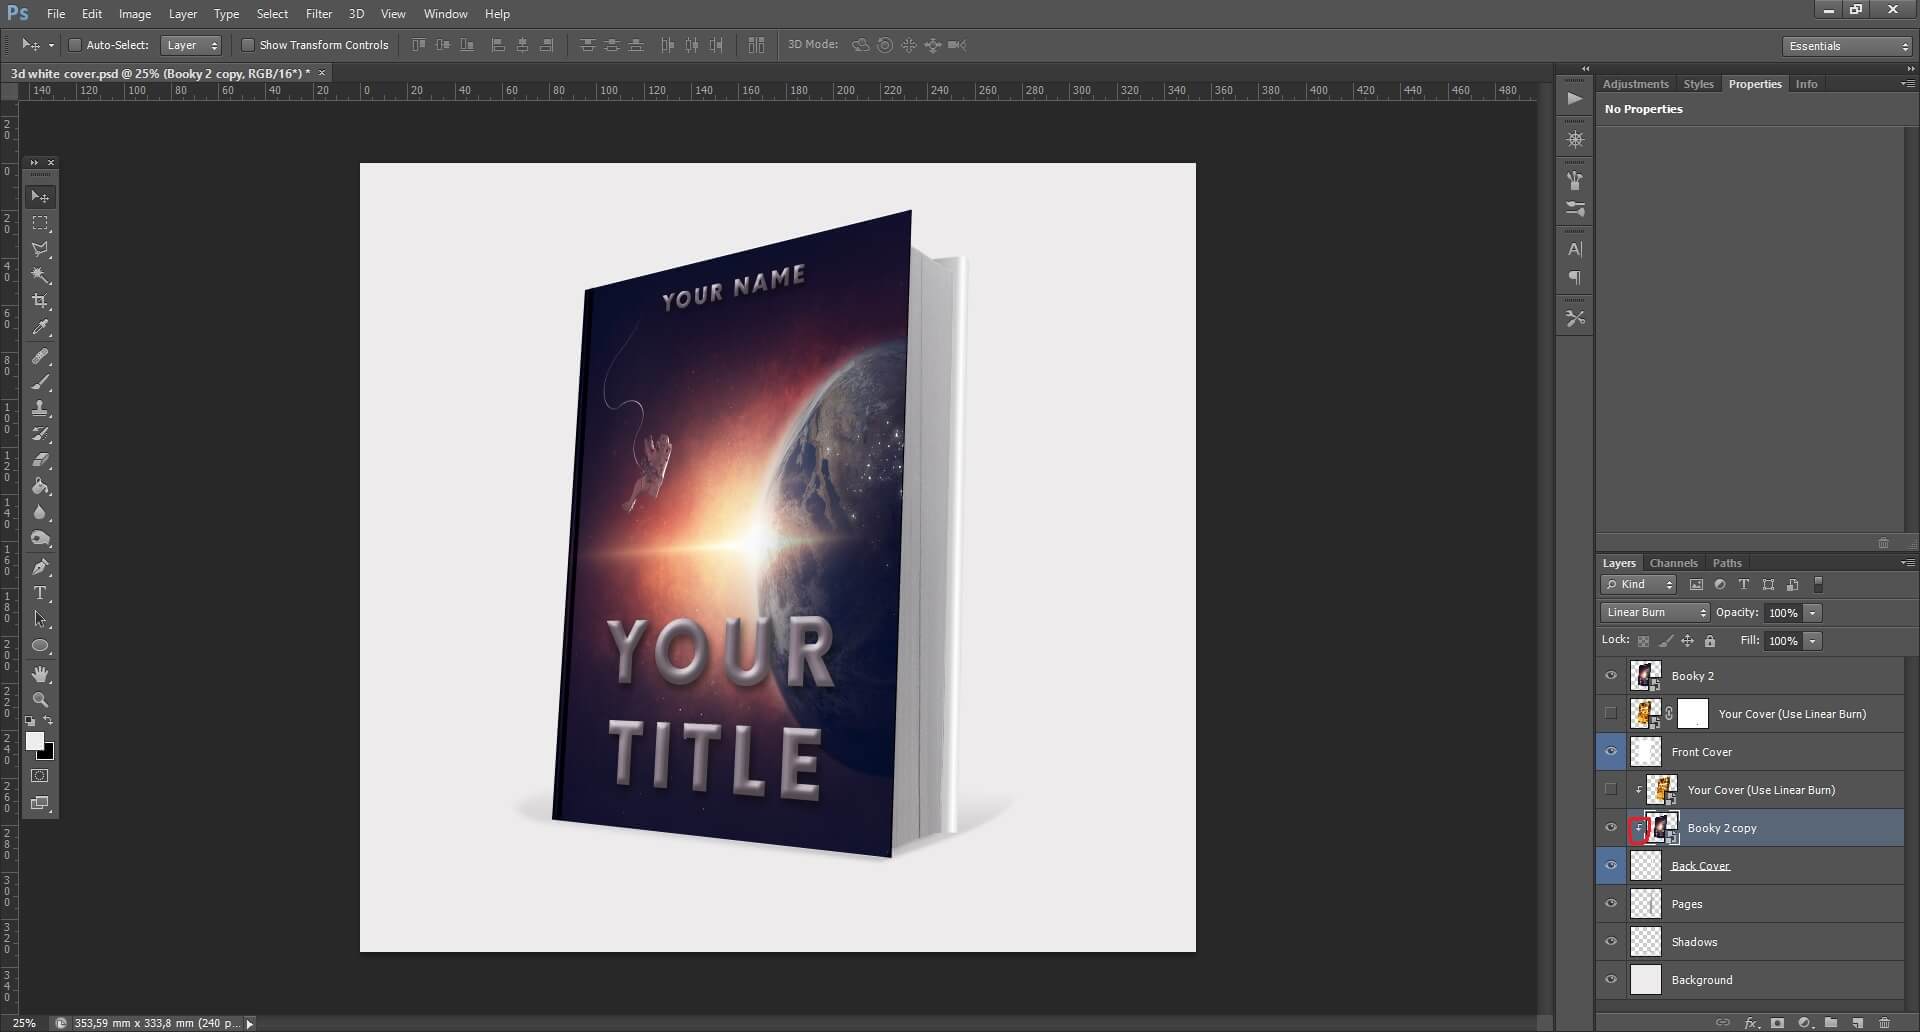
Step 13: Now just click somewhere on the picture, and having the buton pressed move the mouse to the righ. You will notice that your cover appears as the back cover. Move it until it covers all the back cover.
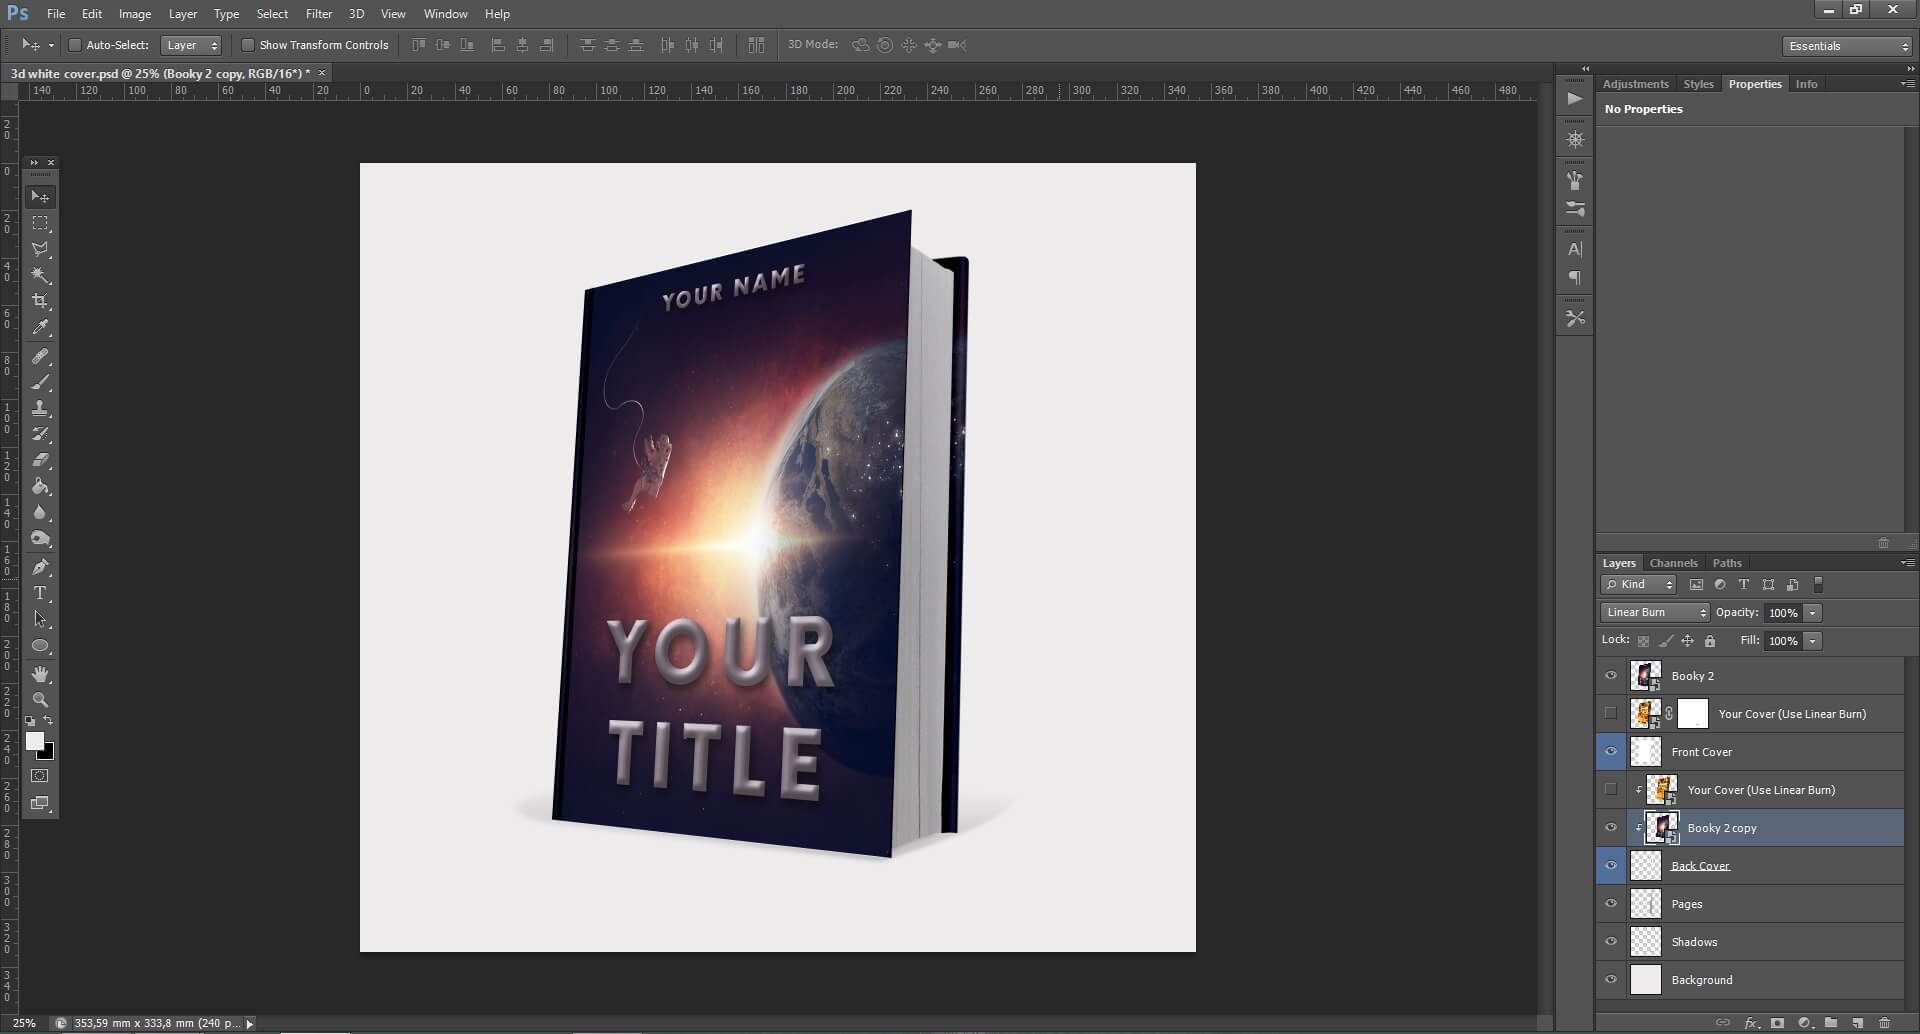
Done! Now you just have to save it.
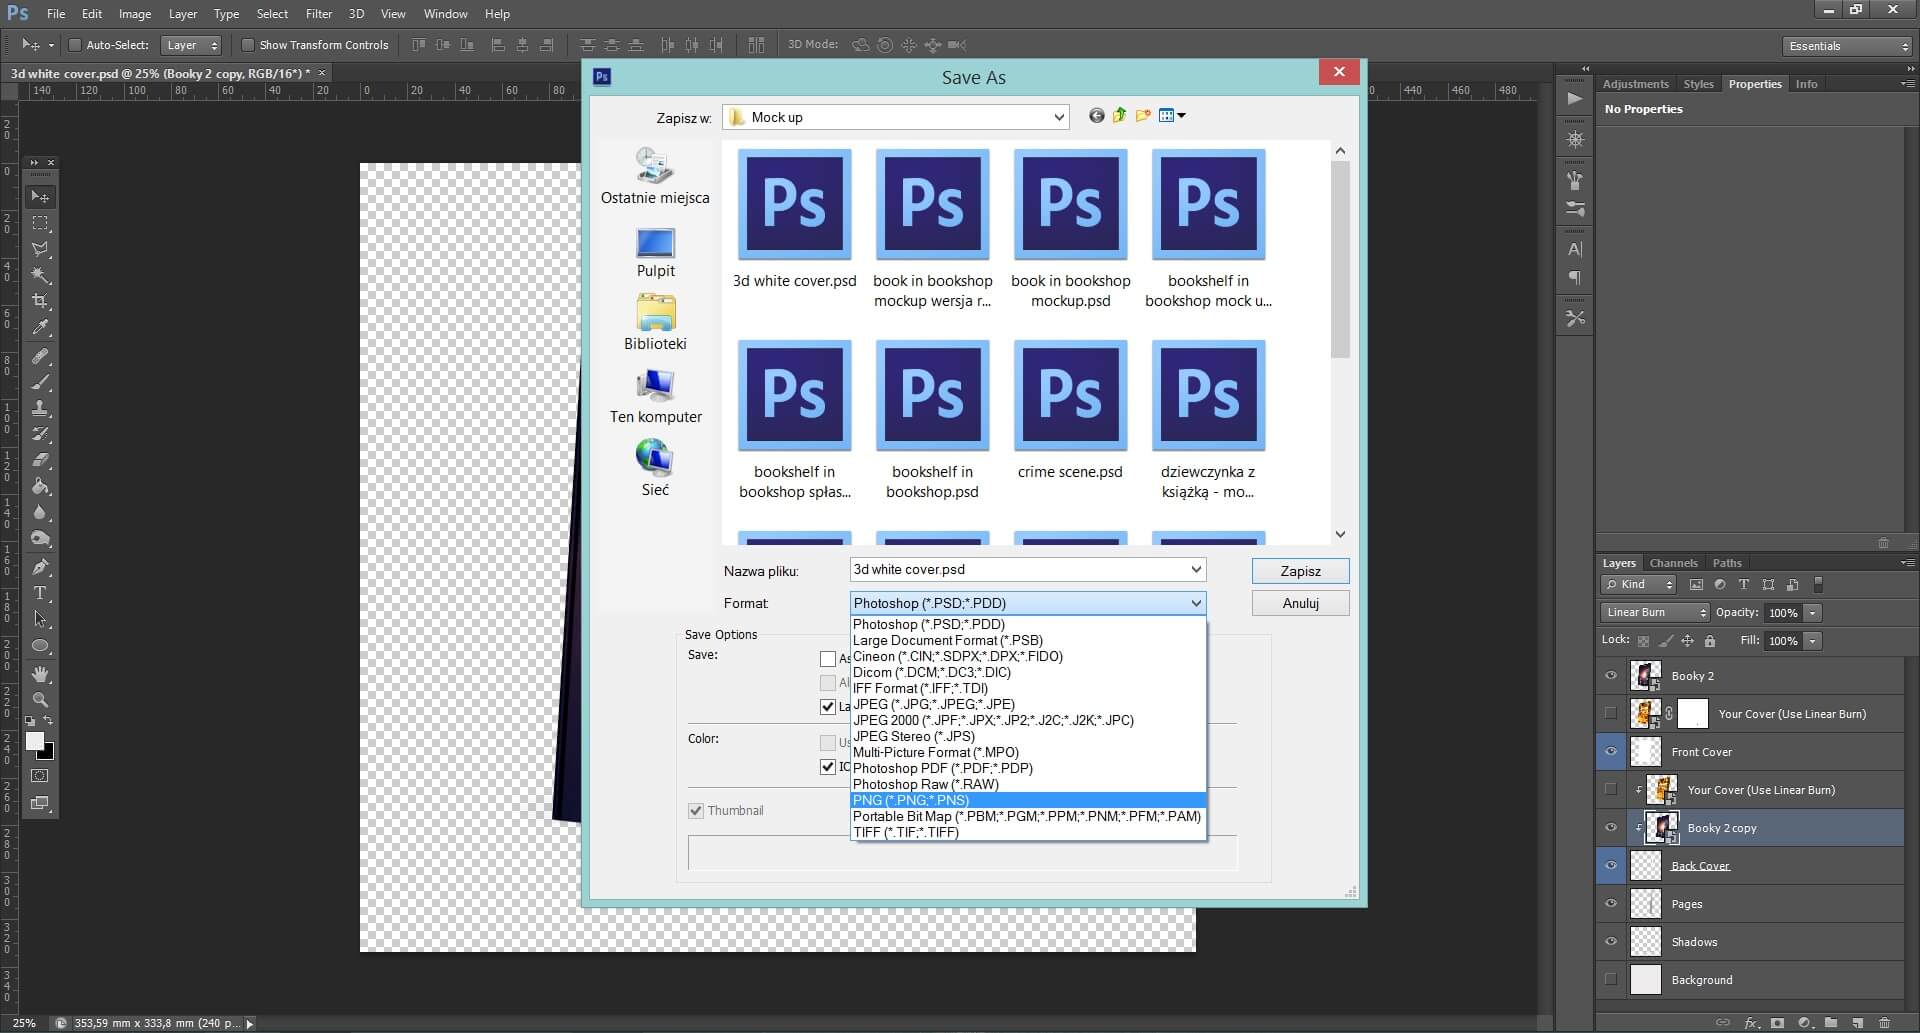
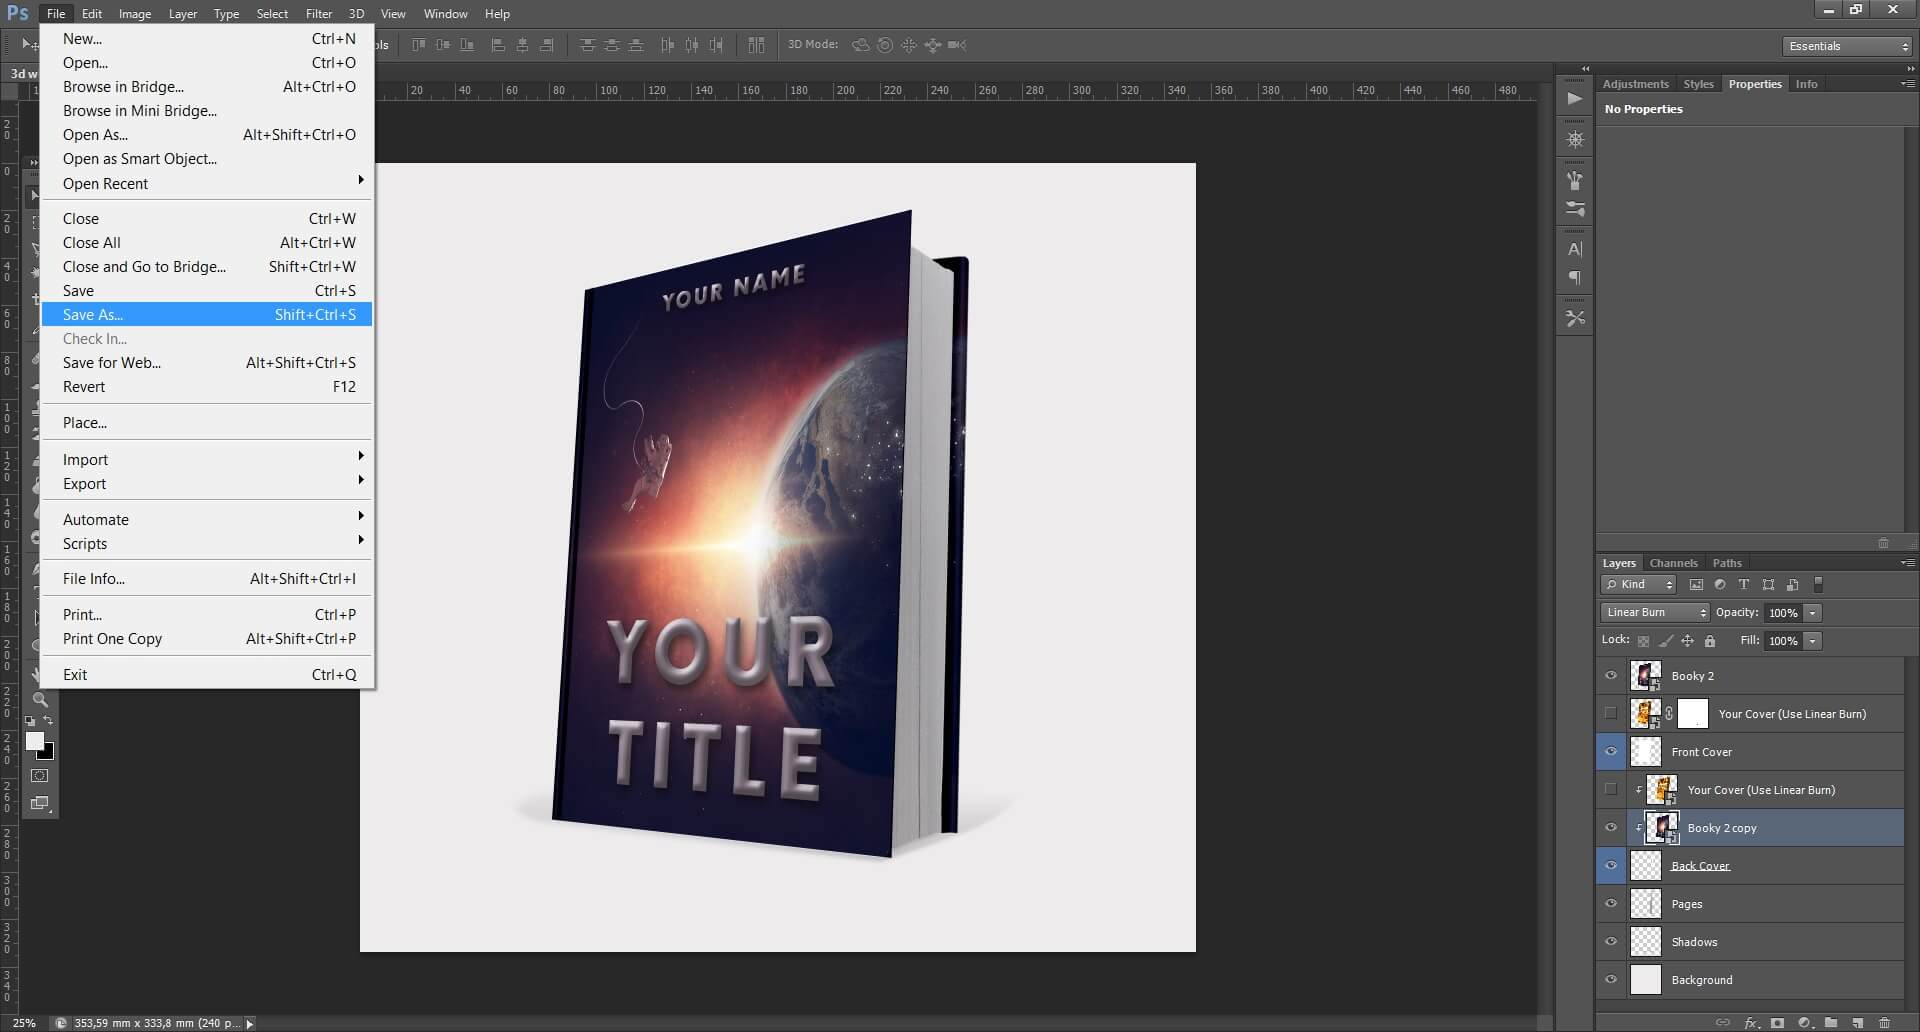
Step 14: To do so, click File->Save As
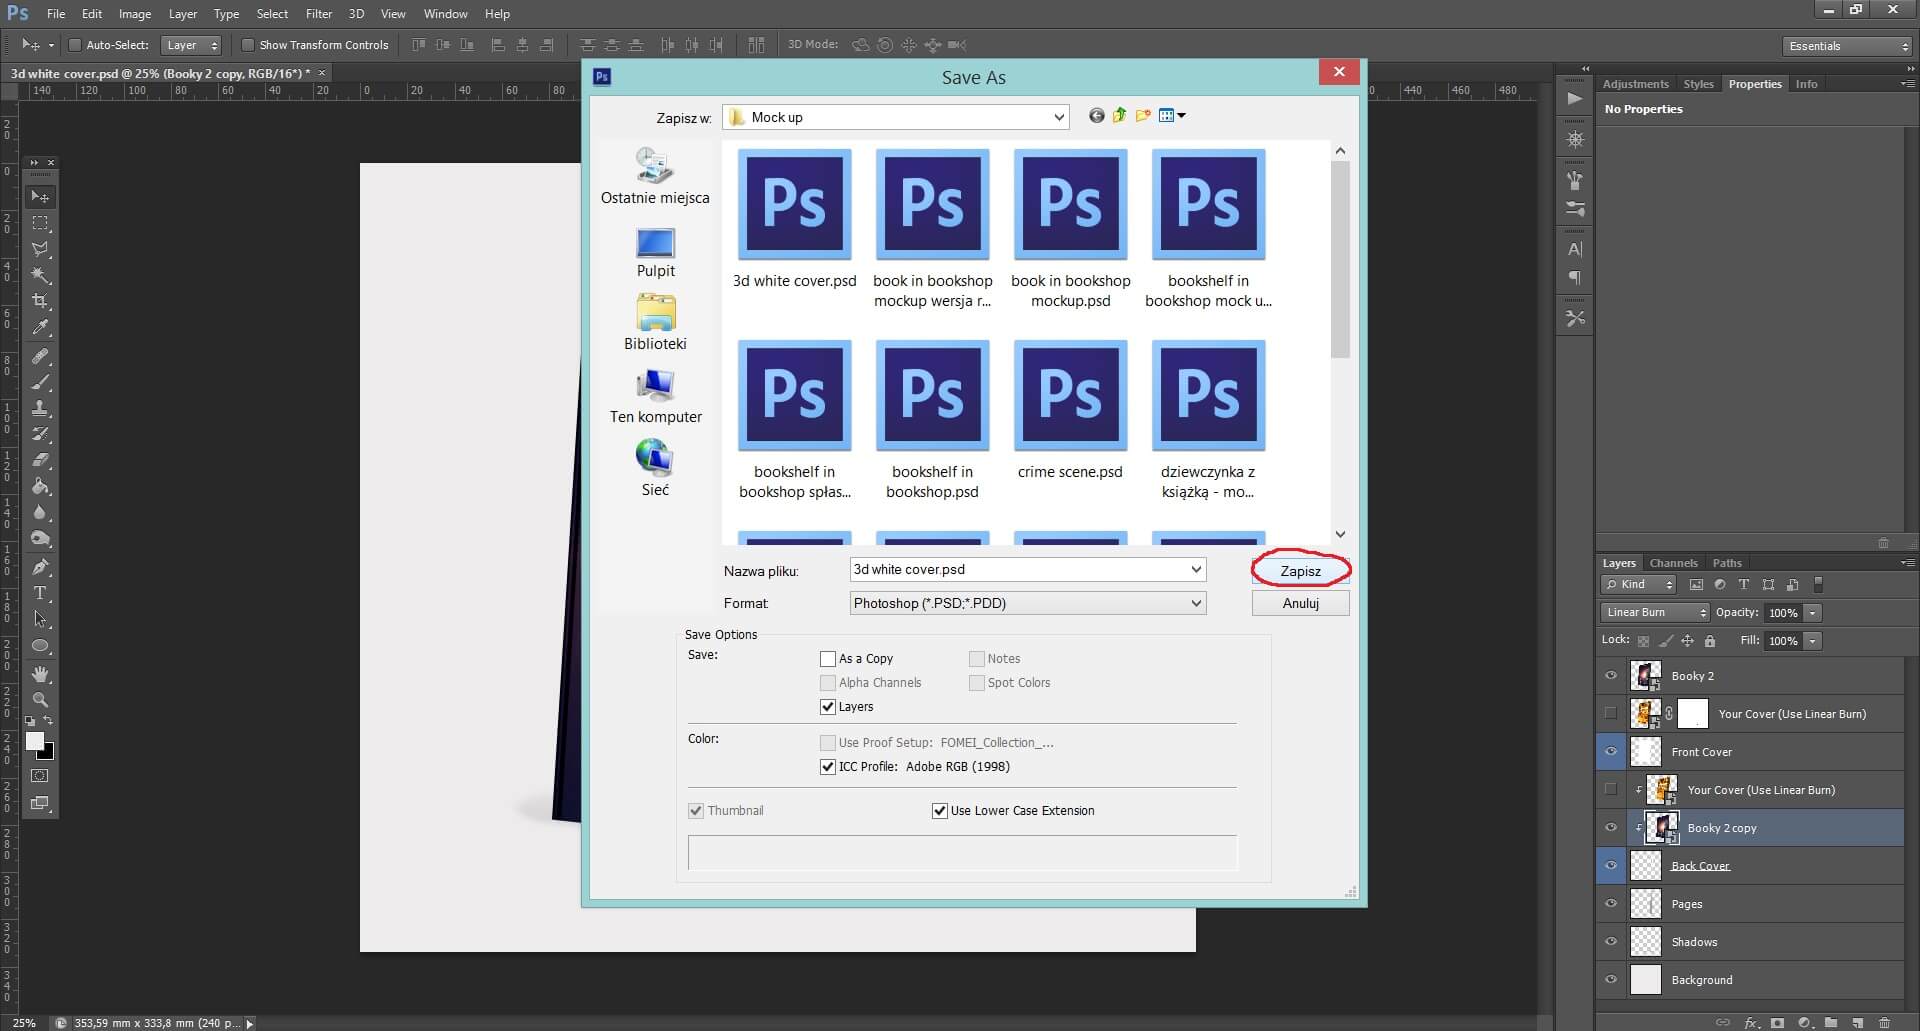
Step 15: Choose the format and name for your new file. If you want to save a ready, editable Photoshop file choose the .psd format and click ‘Save’.
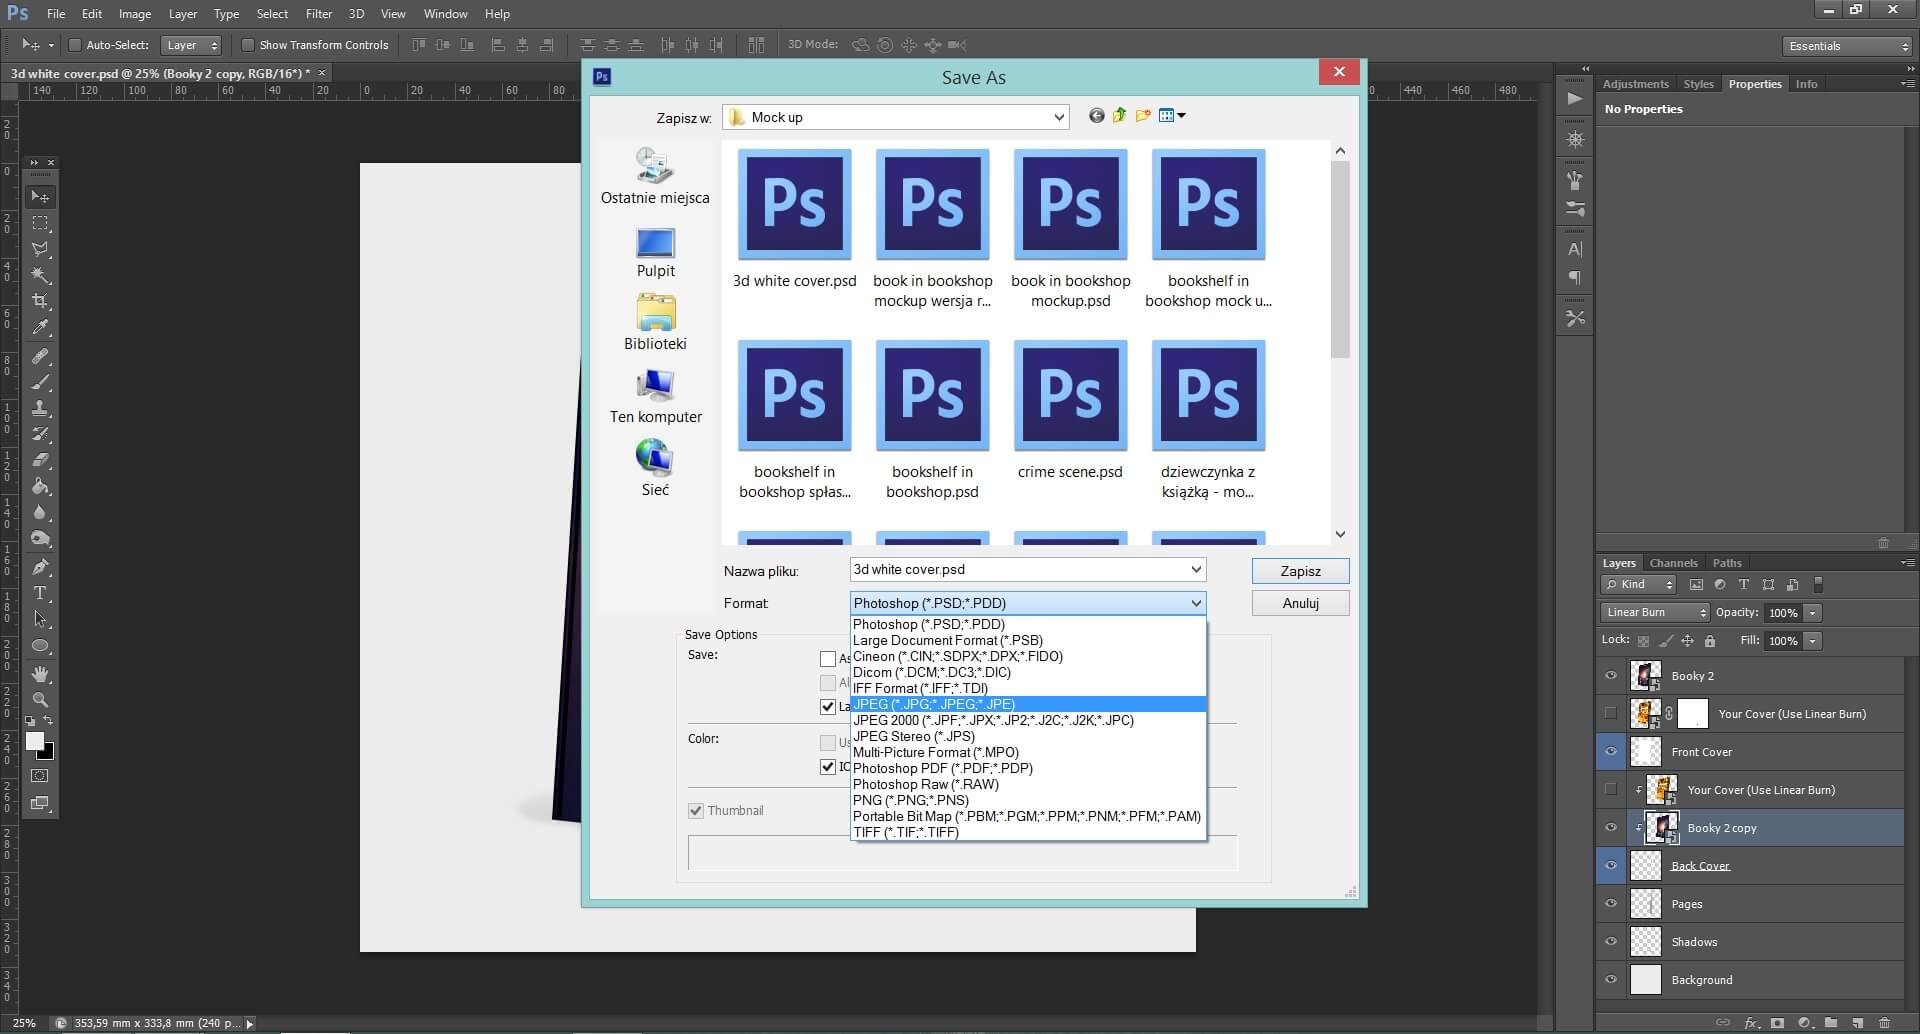
If you need a jpg file, just choose this format from the list and click ‘Save’.
Step 16: If you want a 3D cover with no background, first click on the eye next to the ‘Background’ layer to make it invisible.
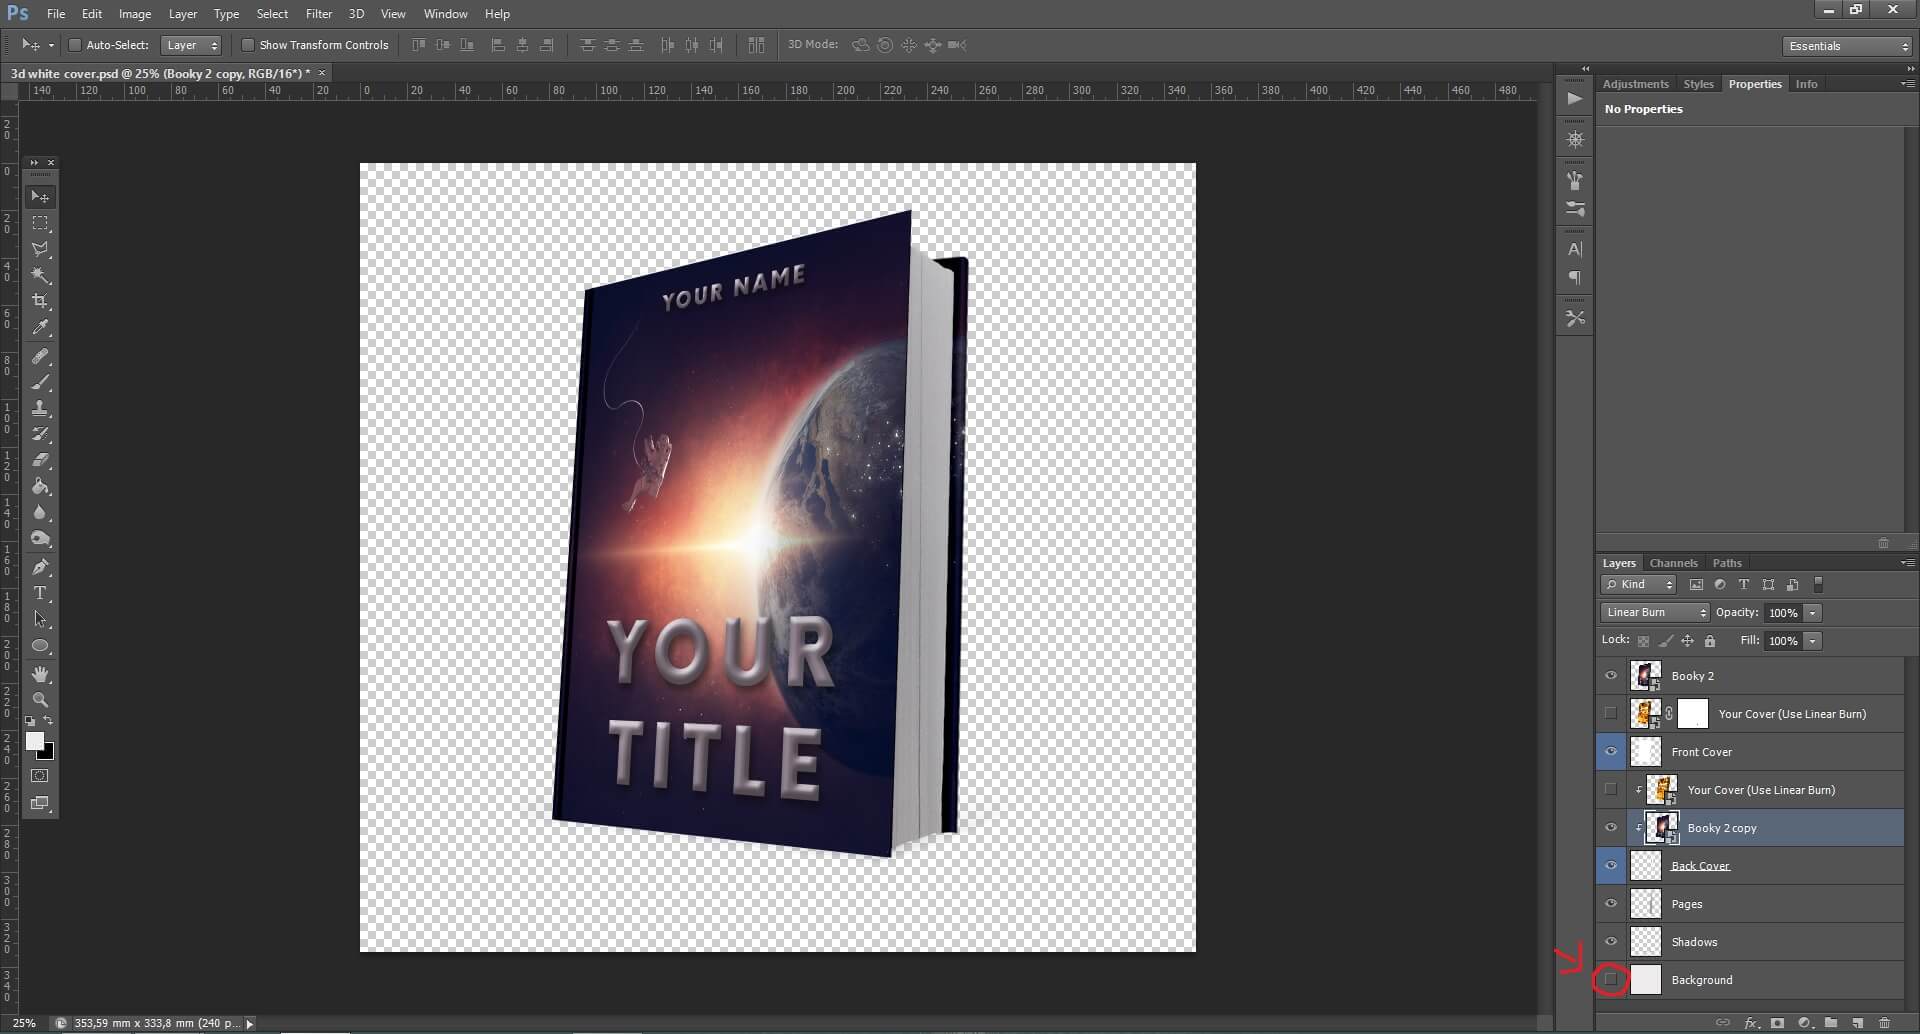
Then go to File-> Save As. There choose the .png format.
